
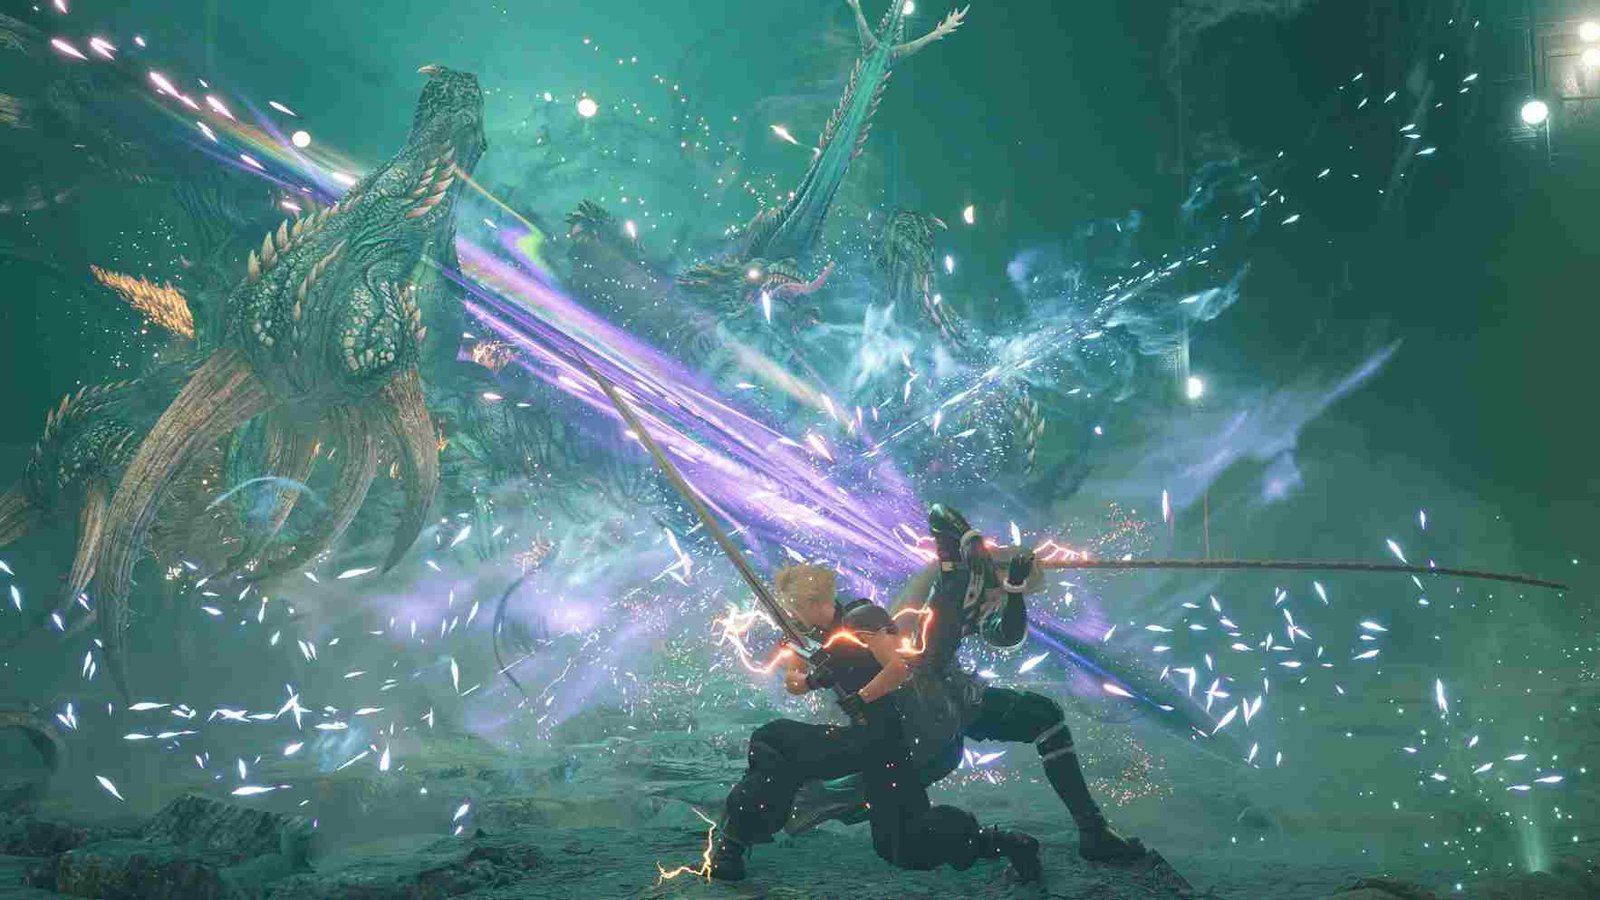
So, you have a system that is capable of generating and displaying frames at a high resolution. But whenever you try to play Final Fantasy VII Rebirth, you run into an issue. Well, what happens is that the resolution does not change in Final Fantasy VII Rebirth. So, is there a way to fix it? Any way to play the game in the resolution you desire? Read till the end to find out.
This issue, for most affected players, pops up when they try to change the resolution in Final Fantasy VII Rebirth. The game still runs on 720p, despite adjusting the settings. Even though you follow the usual steps—switching between windowed and borderless modes—the resolution change doesn’t take effect, and the game continues to render its world at a low resolution. So, how to fix it?
Final Fantasy VII Rebirth (PC) Resolution Not Changing Issue: is there any fix yet
As of now, there isn’t an official fix for this issue yet. This resolution issue is one of those unaddressed problems in the game that have contributed to making the experience of players worse. That said, we do have some potential fixes that may help you fix the issue. So, in the absence of an official fix, these workarounds are your best shot!
Dynamic Resolution
A simple step to fix the resolution issue in Final Fantasy VII Rebirth is to go to the in-game Graphics Settings menu and set both minimum and maximum dynamic resolution to 100%. This makes sure the game renders at your selected resolution instead of scaling down dynamically, which may be causing it to appear lower than intended.
Display Mode
For this workaround, open the game and navigate to the Graphics Settings menu in Final Fantasy VII Rebirth. In the settings menu, change the Display Mode to Windowed. Once in Windowed Mode, you should be able to manually select your preferred resolution from the available options. After applying the resolution change, switch the Display Mode back to Borderless Fullscreen.
Engine.ini file
If you don’t already have the Engine.ini file via the FFVIIHook mod, then download this mod via Nexus Mods by clicking here. After downloading the mod file, paste the engine.ini file in the mod into the following directory: C:\Users\USERNAME\Documents\My Games\FINAL FANTASY VII REBIRTH\Saved\Config\WindowsNoEditor. After pasting, open the .ini file and add your desired resolution; for example, to run at 4K on a 1440p monitor, add the following line: “[ConsoleVariables] r.Setres=3840x2160f”. You can experiment with more values and then figure out which works best. Once you boot up the game, you’ll notice improved image quality, but with a lower frame rate, confirming the game is rendering at the higher resolution.
TAA and Mods
The issue you’re experiencing could be related to bad TAA (Temporal Anti-Aliasing). It’s worth checking the in-game Anti-Aliasing (AA) settings and experimenting with alternative solutions like the FSR 3.1.3 and XESS 2.0 mods from Nexus Mods. Additionally, try deleting the Engine.ini and GameUserSettings.ini files (found in this directory: C:\Users\USERNAME\Documents\My Games\FINAL FANTASY VII REBIRTH\Saved\Config\WindowsNoEditor) to make sure there are no lingering settings that may be forcing unwanted resolution or scaling configurations.
Well, this brings us to the end of this guide. Hopefully, you were able to solve the problem and change resolution flawlessly. Now before you leave, don’t forget to bookmark DigiStatement for more daily gaming content like this. You can also click here for additional Final Fantasy VII Rebirth-related guides and fixes!
