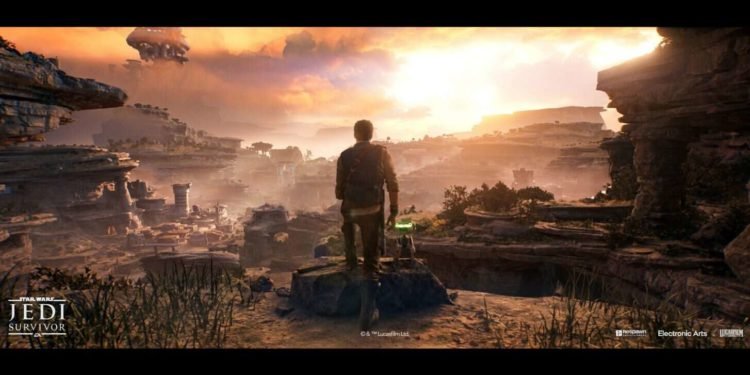
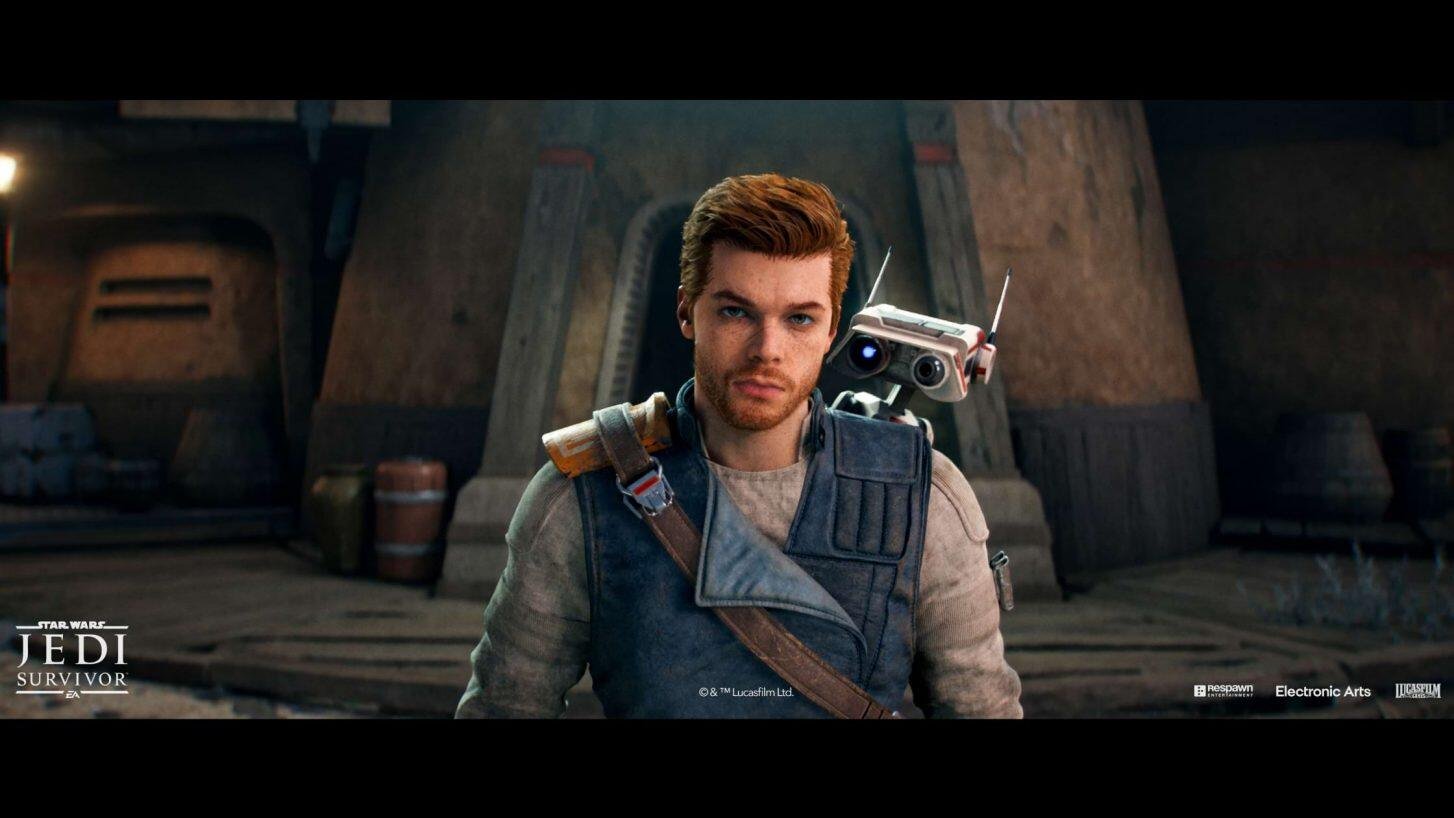
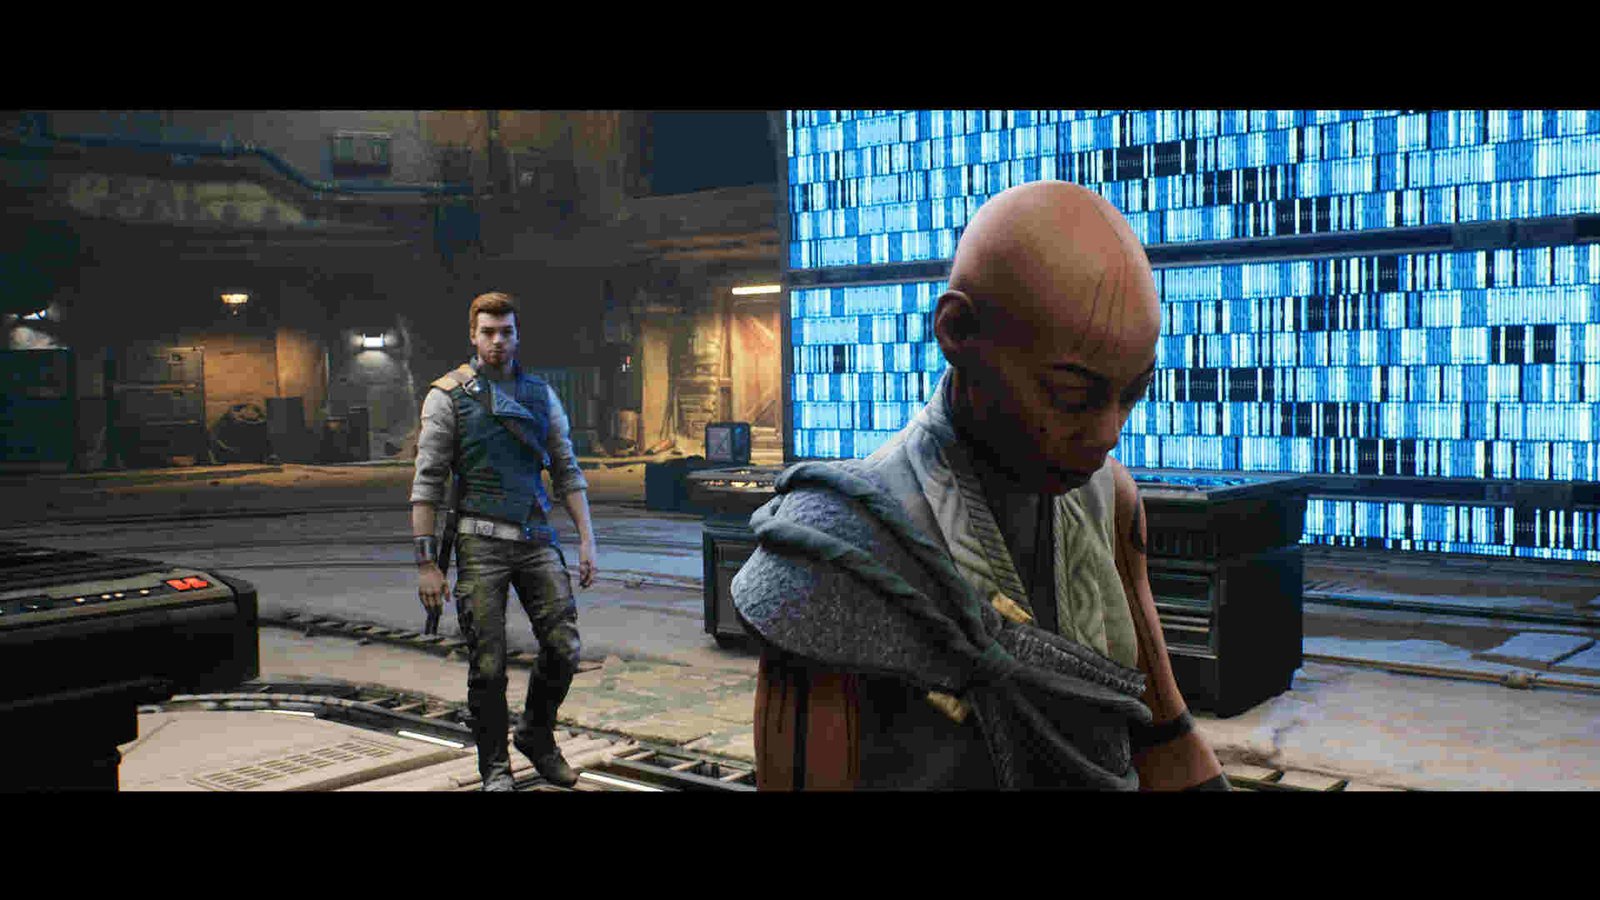
Star Wars Jedi: Survivor was released on 28th April 2023, and fans have spared no time to dive into the adventure. It is an action-adventure game available on Xbox Series X/S, PlayStation 5, and PC. Developed by Respawn Entertainment and published by Electronic Arts, this game takes players on an epic journey through the galaxy far, far away. Players are excited to experience the gameplay and protect the galaxy from descending into darkness. The game offers stunningly realistic graphics that are visually pleasing to the players. And it is only right to want to keep safe epic scenes and snaps of Cal fighting to protect the galaxy. This brings us to the topic of the article, how to use photo mode in Star Wars Jedi: Survivor? Let’s find out!
Amazing gameplay is never really complete without high-quality graphics. Well, the new Star Wars game offers just that. With stunning graphics, engaging gameplay, and a captivating storyline, Star Wars Jedi: Survivor offers an unforgettable experience for fans of the Star Wars franchise and newcomers alike. Consecutively, fans wish to capture moments of the gameplay and cement the memory forever. Further in this guide, we’ll discuss the photo mode feature of Star Wars Jedi: Survivor, so keep on reading!
Star Wars Jedi Survivor: How to use Photo Mode
As the game has taken over the hearts of Star Wars fans with its epic gameplay and stunning graphics, fans are on the lookout to share their “out of the world” experience with others through photo mode. Photo mode is a feature in a game that enables the players to snap stills of their favorite moments in the game. Fortunately, Star Wars Jedi: Survivor includes the photo mode feature for their fans.
Photo Mode for #StarWarsJediSurvivor will be available at launch!
Check out some of the photos @Respawn developers have captured in their playthroughs! ? pic.twitter.com/LZWTMyqAhg
— EA Star Wars (@EAStarWars) April 25, 2023
In order to capture your experience and show off the stunning graphics, you would need to use the photo mode and we’re here to tell you how. Unlike its predecessors, the photo mode feature is available right away! To use the photo mode, simply start by pausing the game, and heading to the Journey Tab. After which, press the Triangle button if you are using a PlayStation controller, press Y if you are using an Xbox controller, or Press F if you are using a keyboard. This will take you to set up the photo mode. The options will be displayed on-screen and you can choose to change the camera positions and even perform in-game edits for the perfect shot!
Once you’re done setting up the photo mode, you’ll be able to take still photos of the gameplay with ease. And if you have launched the game through Steam, you can press F12 to take a screenshot, it is that easy.
Anyways, this brings us to the end of the guide, we hope we helped you click your most memorable moments in the game. Make sure to check out DigiStatement for more tips and updates about your favorite games.


