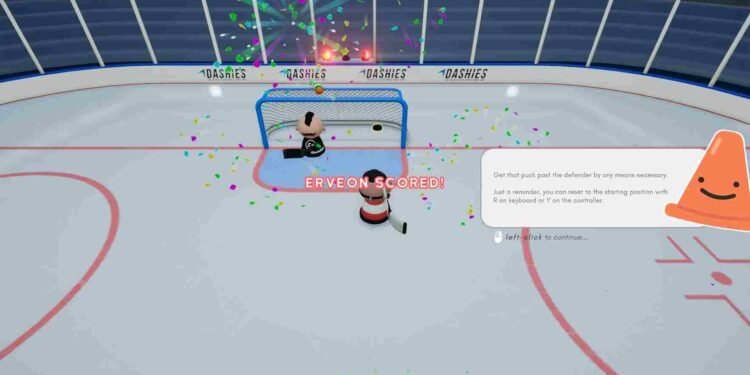
Slapshot: Rebound is a fast-paced multiplayer hockey game that delivers an arcade-style experience full of excitement and strategic depth. Players control their characters on the ice, dribbling the puck, passing, and shooting their way to victory. Unlike traditional hockey games, there’s no shoot button or random chance; success depends entirely on skill and teamwork. Talking about teamwork, you might want to include more than just one or two buddies on your team for new possibilities for teamwork and strategy. That being said, here is all you need to know about inviting more than two players in Slapshot Rebound.
After four years of development, Slapshot Rebound’s full version has been released, sparking excitement among both new and returning players. With this milestone, many are curious if they can enjoy the game with more than just two friends. Wanting more friends to join in makes sense because playing with a larger group is more fun and exciting. With more friends, you can work together better, plan strategies, and have a blast on the virtual ice. But is this even possible?
Slapshot Rebound: How to invite more than two players?
One player raised a concern about inviting more than two players in Slapshot: Rebound, to which Erveon, a developer, responded. Erveon explained that the matchmaking system is only capable of holding parties of three people and if you invite two friends to join you, you’ve reached the maximum party size allowed for regular matchmaking. But that does not mean you cannot add more than 2 players at all. If you want to include more than two friends in your game, you’ll need to utilize the custom game feature.
How to invite more than two friends?
To break it down further, if you want to play with more than two friends, follow these steps:
- Launch Slapshot Rebound and navigate to the main menu.
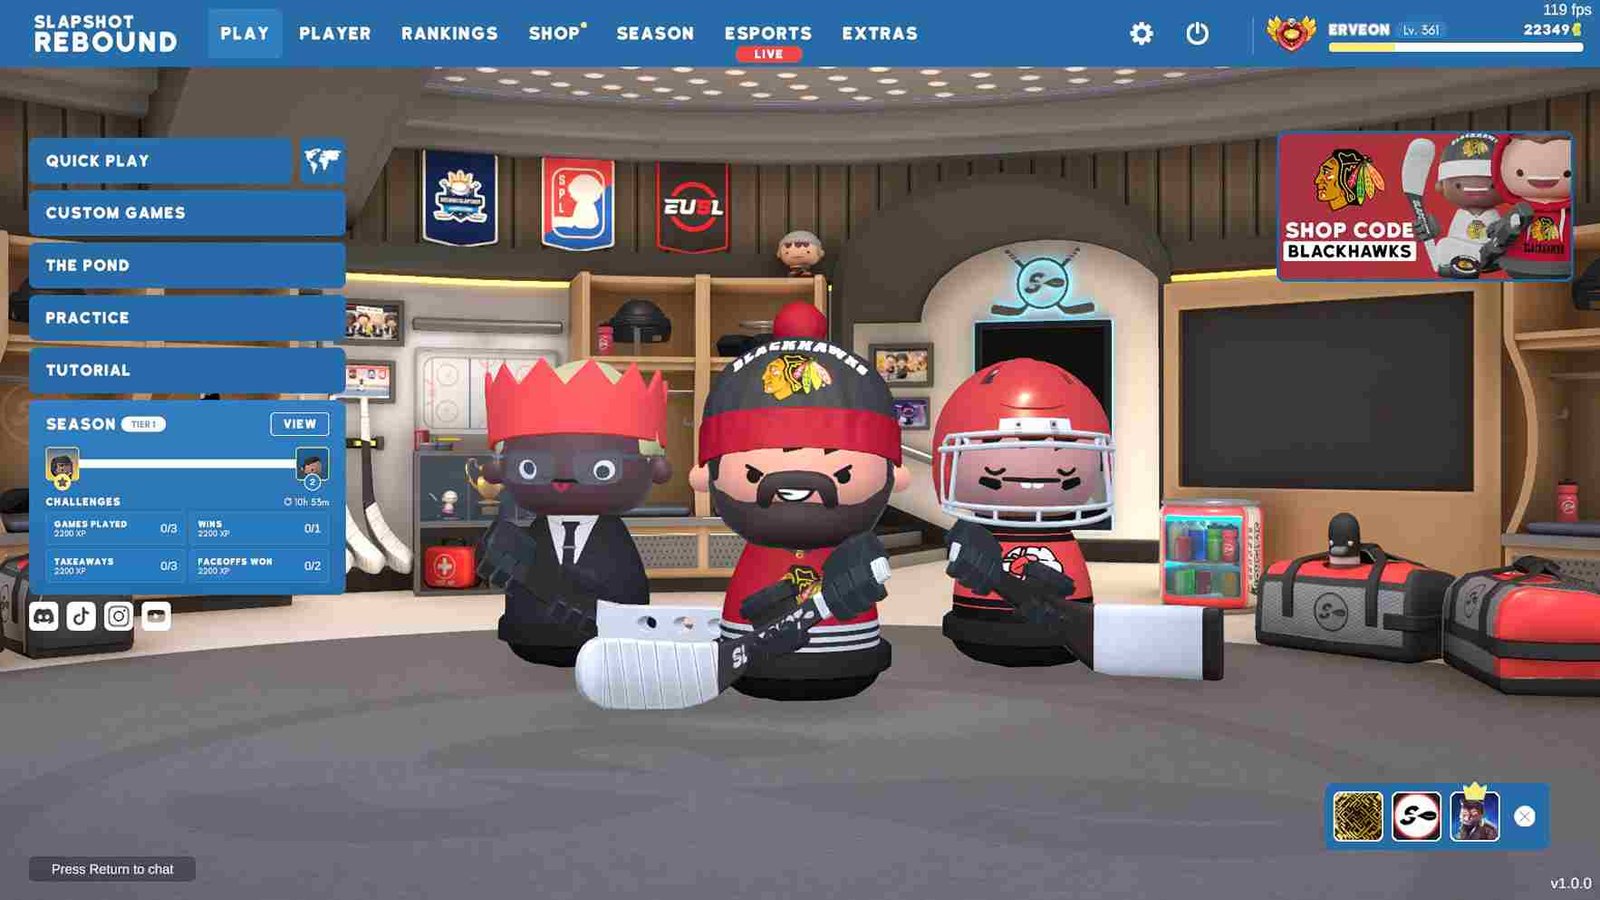
- Look for the option to create a custom game. This option is usually found in the multiplayer or play menu.
- Once you’ve selected to create a custom game, you’ll likely be prompted to set up the game settings, such as the map, game mode, and other preferences.
- After configuring the game settings, proceed to create the custom game.
- Now that you’ve created the custom game, you’ll need to share the details with your friends so they can join you.
- Share the custom game lobby name: In the custom game lobby, there should be a name or code associated with the lobby. Share this lobby name or code with your friends.
- Share the password (if applicable): Depending on the game settings, you may have set a password for your custom game lobby. If so, make sure to share this password with your friends as well.
- With the credentials shared, your friends can look for the option to join a custom game. Instead of selecting regular matchmaking and there, they can enter the lobby name/code and password to join your custom game.
Once all your friends have joined the custom game lobby, you can start the game and enjoy playing together! Well, that brings us to the end of this guide. Do stay in touch with DigiStatement for more gaming guides like this. Read more: GTA 5 Online: How to create private game lobby


