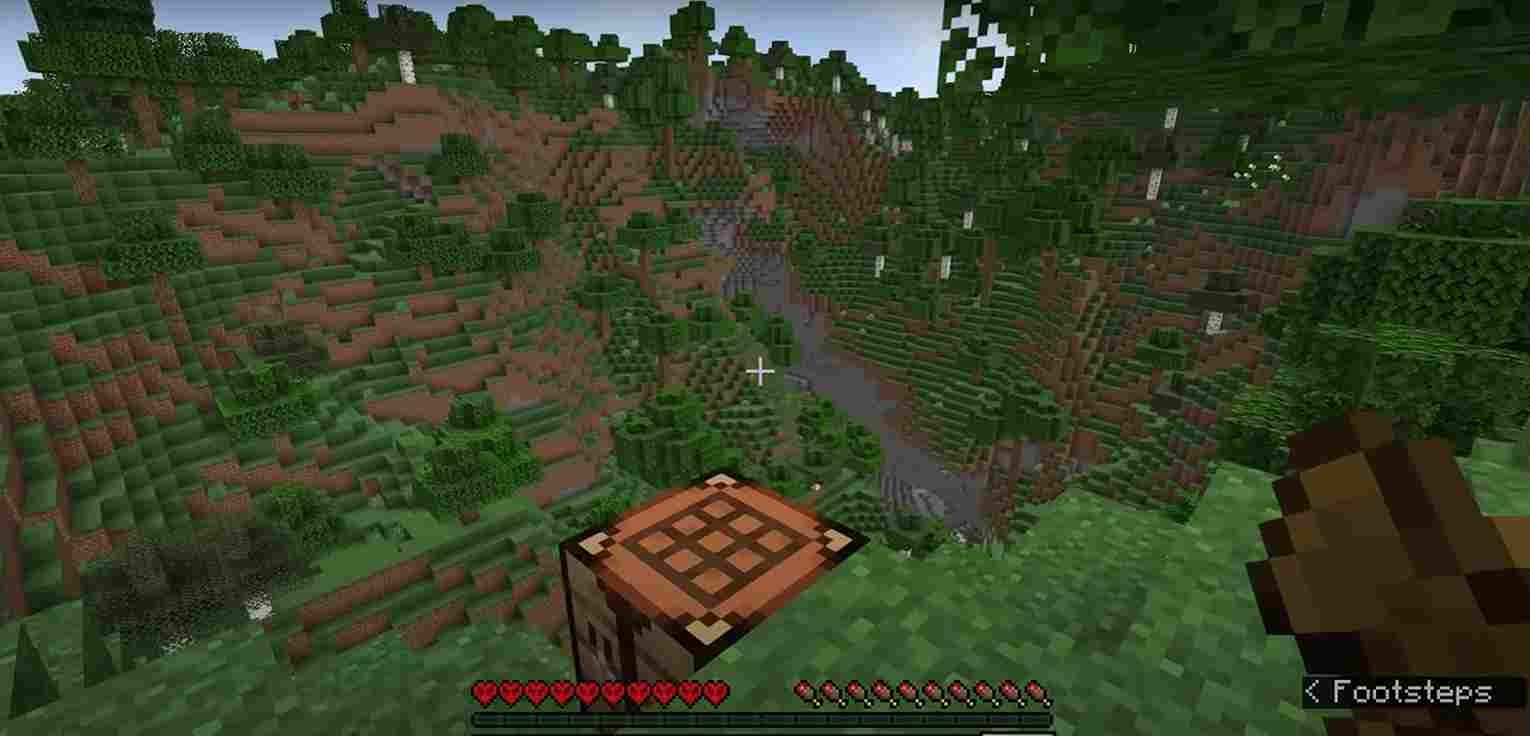
Ah, Minecraft, the glorious world of endless blocky possibilities! Whether you’re a seasoned player or a curious newcomer, one thing we can all agree on is the desire for smoother gameplay and eye-catching visuals. Fear not, my pixelated comrades, because if you are having performance issues with the game, there is a mod available just for you! The mod is called Optifine, and if the name did not give it away, then it is a mod that will optimize your Minecraft gaming experience. So, grab your diamond pickaxes and get ready to embrace the Optifine mod in the latest update. Keep reading as we walk you through the process of installing Optifine for Minecraft 1.20.
Well, if you didn’t already know, Optifine is a remarkable mod for Minecraft designed to enhance your gameplay by offering a plethora of optimizations and jaw-dropping graphical upgrades. First and foremost, let’s talk performance. Optifine’s magic lies in its ability to conjure better frame rates and reduce pesky lag. It smooths out the rough edges of your Minecraft world, making those resource-heavy biomes a breeze to explore. But wait, there’s more! Optifine sprinkles a touch of visual enchantment onto your screen. With support for HD textures and shaders, you can indulge in stunningly detailed blocks, items, and entities.
Minecraft 1.20: How to install Optifine
So, get ready to witness the wonders of Minecraft in all their high-definition glory! Want to make your structures truly shine? Optifine’s got your back with connected textures, giving your glass panes that seamless, polished look. Just follow the steps given below to install Optifine. However, before you start the process, open the Minecraft Launcher and make sure you have launched the latest release or snapshot of Minecraft 1.20 at least once. With that out of the way, let’s get started.
- Go to the official Optifine website and download the latest version compatible with Minecraft 1.20. Do note that, as of now, only the preview version of the Optifine mod is available for Minecraft 1.20.
- Locate the downloaded .jar file in your downloads folder and double-click it to start the installation process. If you have Java installed on your PC, a window will appear with the Optifine installation options.
- Follow the prompts in the installation window and click “Install” to complete the installation.
- After this, open the Minecraft Launcher, select the Optifine version from the Versions list, and click “Play” to launch Minecraft with Optifine.
Optional: If you have sufficient RAM on your PC, you can allocate more memory to Optifine by changing the JVM Argument present under the Installation tab of the Minecraft launcher.
After you are done, verify that Optifine is working by checking for the “modded” text in the bottom left corner of the game screen and ensuring that Optifine is listed in the game’s Video Settings and Shaders tab. By following these steps, you should be able to successfully install Optifine and enjoy its performance optimizations and graphical enhancements in Minecraft 1.20. Have a great time exploring the blocky world with improved visuals and smoother gameplay! Anyway, that is all we have for this guide. We hope you find it informative. For more tutorials and guides like this, make sure to visit Digistatement regularly.


