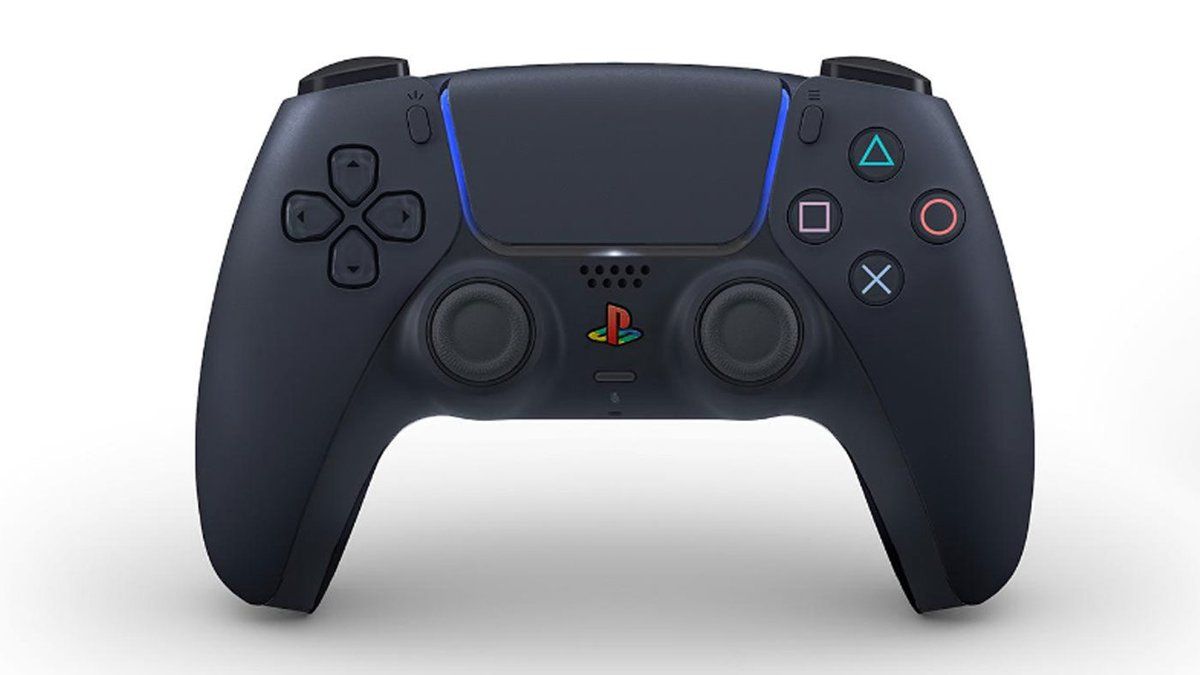
In your gaming days, you’ve probably used a keyboard and mouse when playing the majority of games, but once you get the feel of using a controller, it makes things easier. Especially in hack and slash games where certain button inputs are required to execute faster combos like Devil May Cry and Bayonetta, or any other games for that matter. If you’ve bought your latest Playstation or Xbox controller and looking for a credible guide that can help you in configuring the controller and optimizing it for games on Steam, we’ve got you covered. Read on more to know how to set up a PS4, PS5, or Xbox controller on Steam.
How to set up PlayStation 4/5 or Xbox controller on Steam?
Unlike the traditional way where you have to install third-party software for Windows to recognize the controller, Steam has built-in controller support, which makes things easier for non-technical users. Playstation controllers have a built-in Bluetooth support that you can connect wirelessly on your PC. When you connect your controller to Steam, you should see a popup on the bottom right side of the screen. Once you’re done, you can access the big picture mode in two ways that’ll grant you full control over your controller and let you navigate through the menus. Press the PS button on your controller and big picture mode will start on Steam.
How to start big picture mode on Steam?
Another way of starting big picture mode on Steam is by clicking a small box on the upper right side of the window, place your cursor there and it’ll say Big Picture Mode. Click on it and you’ll be able to use your controller there. You can use the thumbstick and D-pad to navigate options by default. Go up to the Settings, and then select “Controller Settings” and you’ll be able to see your connected controllers in the bottom left. If you’re using a PlayStation controller, it will show up on the bottom left side, after that, select “PlayStation Configuration Support” and if you’re using an Xbox controller, select “Xbox Configuration Support”. You can also set the shutdown time of your controller.
If you want to tweak even further, select “Preferences” on the upper right side of the screen, and from there, you can change your controller’s name, Rumble preference or Player Slot LED. Change everything to your preferred setting and then click on “Identify”. If you want to set a custom deadzone, you can do so in the “Calibrate” option in the menu. You can also rebind the specific keys of your PS4/5 controller in the main settings by selecting the “Base Configuration” option in the Controller tab.
Import custom config for your controller!
As some games are made with Keyboard and Mouse in mind, playing it with a controller might be a little difficult, so for that Steam also offers imported controller configuration uploaded by many users. This can be used for both Playstation and Xbox Controllers. Here’s how you can do it.
Select a game and then go to the “Manage Game” option and then select “Controller Configuration”. Go to Browse Configs by pressing the square button and you can find the custom configuration for your controller. Navigate to the “Community” tab and you’ll see a list of all the configurations. Simply select the one you prefer and if you want other controller configurations, you can view it by pressing the Triangle button. You’ll also get to see other custom setups for the controller, depending on your preferred controller. Just select the one you’re more comfortable and click on “Ok”. Now you can play games that are not meant for controllers easily.
Stay tuned for more updates at Digistatement.


