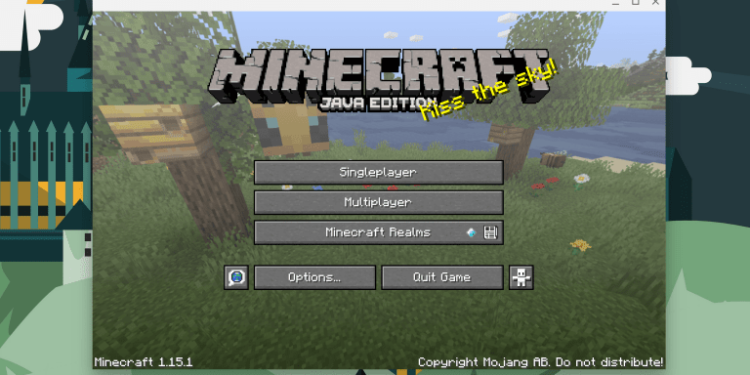
Do you have a Chromebook? Were you assigned one by your school specifically for online learning? Were you gifted a Chromebook by your parents who insisted in getting you one instead of a gaming or even normal laptop? Do you miss the thrill of playing Minecraft? Well, fear not, as we’re going to solve this for you once and for all. Let’s take a look at How To Install Minecraft on a Chromebook:

What is Chromebook?
A short introduction to the device. A Chromebook is a laptop that runs a Chrome OS, which does most of its work and data storage online. Chromebooks are notoriously restricted in their ability to function like regular laptops, let alone play games of any sorts. That’s not to say Chromebooks can never play any games.

How To Install Minecraft on a Chromebook:
Here are the steps to install and run Minecraft on your Chromebook:
Step 1: Open up your Chromebook and turn on Linux Beta Support
Step 2: Turn on GPU Acceleration
Step 3: Open your Google Chrome application and Type “chrome://flags” in the search bar
Step 4: Enable the option “Pointer Lock for Linux applications”. This should help your cursor not get stuck at the edges. It’s all smooth sailing from here on.
Step 5: Visit the Minecraft alternatives download site. You can find the site linked here:
Step 6: Scroll down till you find the Debian/Ubuntu version. Download this version
Step 7: Wait for the the setup to download, then install the setup.
Step 8: Once the setup is installed, you can find the game in your Linux applications.
Step 9: Enter your credentials, and begin playing! Tip: You might need to reduce the render settings, according to your Chromebook specifications, in order to have a smooth gameplay experience.
Viola! Now you can play Minecraft on your Chromebook whenever you want!
You can find a video of the above-mentioned guide here:

