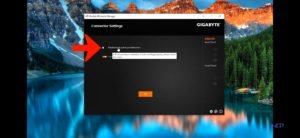
Realtek HD Audio Manager is the application of Realtek’s audio driver which helps your computer communicate to the audio hardware connected to your computer. These days almost every motherboard has an audio card built-in, every audio card needs drivers to know what to do.Without drivers, the computer cannot tell the card basic functions such as on which speaker to play the audio to. Realtek HD Audio Manager helps to control audio on motherboards which have Realtek supported audio cards.
How to fix Realtek HD Audio Manager now showing in Windows 10:-
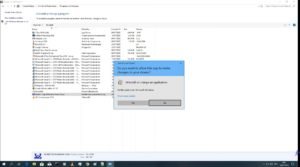
First, if you have Realtek HD Audio Drivers installed you, need to uninstall it. Open Control Panel and click on ‘Programs and Features’, and uninstall the driver.
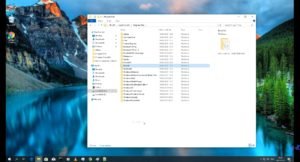
Then go into ‘This PC’, and inside that click on the C Drive of your computer. There you will see a folder called ‘Program files’, if you have ‘Realtek’ folder in it, delete it.
After that, in the C drive, there will also be a folderr called ‘Program Filesx86’, if there is ‘Realtek’ folder inside it also, delete it.
After that, download the latest Realtek HD Audio Driver from here, download the version which ‘WHQL’ written in the name as it is universal for all computers.
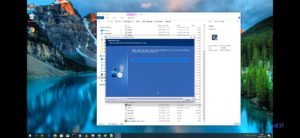
Extract the files into a new folder with the name, ‘Realtek’ and double click the ‘setup.exe’
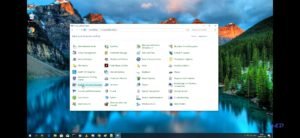
After the installation of the driver has been completed, the Realtek HD Audio Manager will show up in the control panel.
You can turn this setting on, if you want to connect your audio source to the front panel of your computer.
NOTE- All the screenshots used in this article have been taken from f&D’s Youtube Channel

