Photos and video sharing have become a common part of our life. It all started with the very popular app, Instagram, where users were brought under a common platform to share and view images. But is the modern generation, this is, the demand for more personalized apps featuring the same functions became a thing, and that’s where Snapchat came into the game! Snapchat is a mobile app that allows users to interact with images and short videos with features like feed. The app is very popular mainly because of the safety it ensures, where every action taken on your messages and images will be notified.
An app being this popular, it is obvious to grow demand for its availability on PC. Check out the guide given below to use Snapchat on PC (Windows & Mac).
Snapchat on PC (Windows & Mac)-
There are no official methods that the developers have made compatible to use Snapchat on PC. As security is the prime focus, you cannot access this app or operate it online via search engines, so the only way to use Snapchat on PC is buying installing Emulators.
Emulators are applications that allow users to download and use mobile applications on PC. This is possible because of the interface the emulators create. The app recognizes the emulators as mobile devices itself and allows installing applications. There is nothing to worry about security as it is downloaded on your device without sharing data with third-party platforms.
BlueStacks is the most efficient emulator to run Snapchat on PC. Mac users will need a G-mail account to sign-in but once the app is downloaded, you can input your account details regardless of which OS you created your SC account with. Look for the guide below.
How to use Snapchat on PC (Guide)-
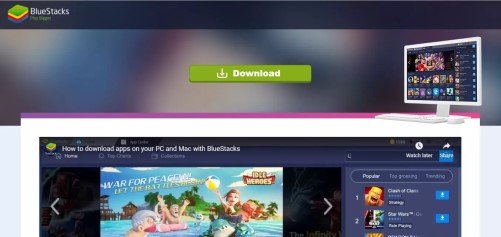
Step 1-
Click the button below to be redirected to the official BlueStacks page.
Step 2-
Click the green button on the page to download the Android emulator.
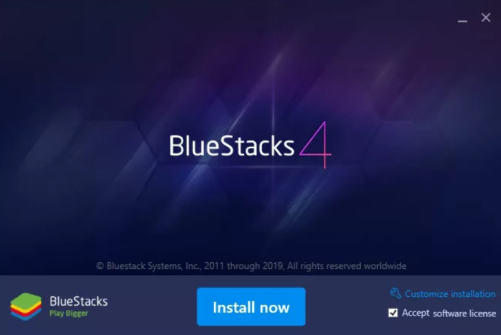
Step 3-
Open the downloaded file and click the .exe file twice to open the installation window.
Step 4-
Click the “Install Now” button you see on the installation window and wait for the process (which includes extraction and installing) to be completed.
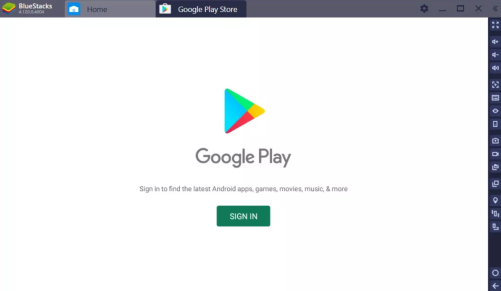
Step 5-
Once finished, you will be on the main page of the BlueStacks emulator. Click on the Google Play icon you see.

Step 6-
Click on Sign-in and enter your Gmail ID that will help you access the Google Play via emulator.
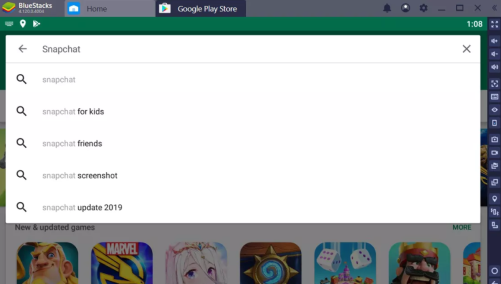
Step 7-
Once done, you will get access to the Play Store. Type Snapchat on the search bar.
Step 8-
Click on the “install” button that you see on the right side of the bar.
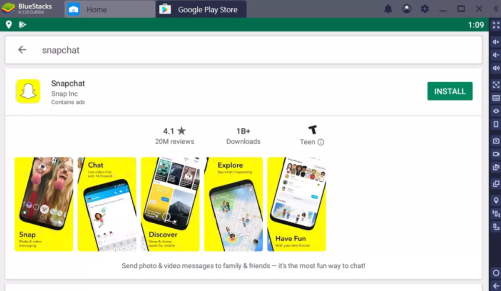
Step 9-
Click on “Open” which will boot the Snapchat on your emulator.

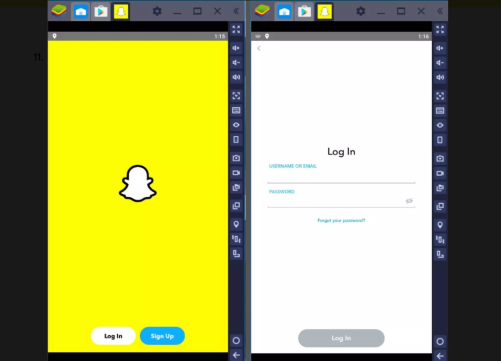
Step 10-
Snapchat will open with prompting you to log in/ signup. Choose what you desire and enjoy the app.
Note: BlueStacks might crash once or twice as it is a common application for every PC version. Reboot the application, and once it starts working fine, you will not face any issue.
Rest assured, stay tuned for related content and more updates. Reach out to us via the comments section if you face any trouble in using Snapchat on PC. Also, share this article with all those Snapchat users!
