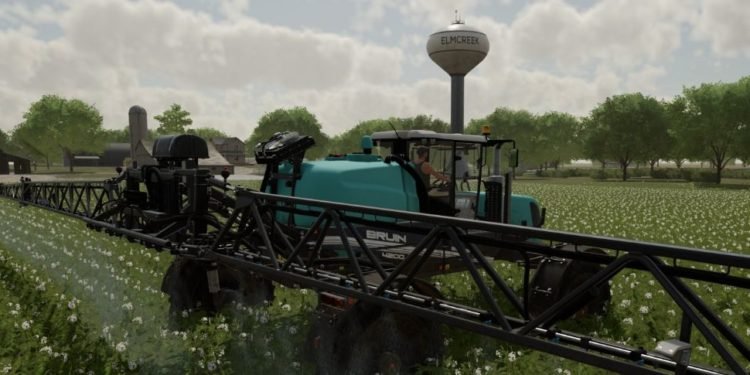
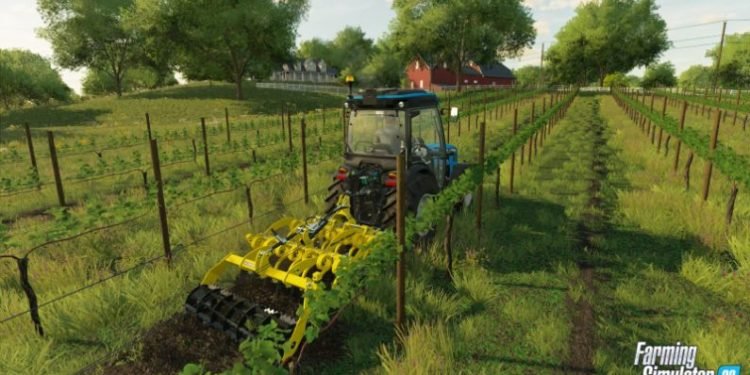
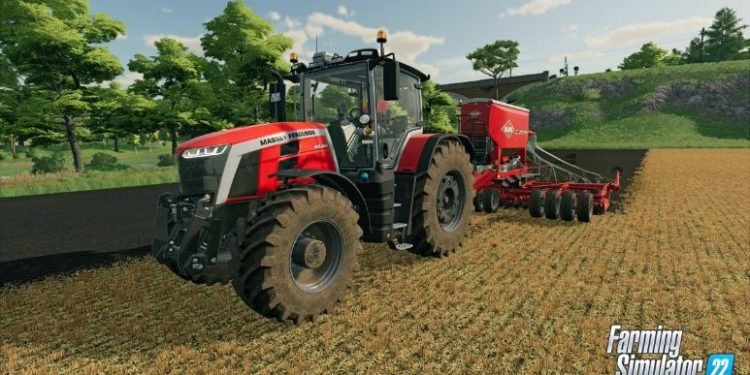
Farming Simulator 22 is the newest installment that offers several ways to grow and expand your farming operations in different fields that are not only limited to agriculture but also animal husbandry and forestry. It’s been out recently and improves upon many features from the FS 19 or later games like dynamic weather, lots of equipment, vehicles, and lastly multiplayer.
Playing solo can be a little tedious and repetitive, but the experience gets better if you have friends and cooperating on growing crops or any other activities becomes more fun. If you’re looking to rent a dedicated server to enjoy multiplayer with your friends, keep reading the article to find out.
Renting a server on Farming Simulator 22
First of all, players should know there’s a difference between hosting their multiplayer session and renting a server. The drawback of hosting a server is that once you close the session, your friends won’t be able to get into the server. Renting a dedicated server on the other hand allows multiple people to join or leave as they please without any issues and do various other stuff in the game. Here’s how you can rent the server in Farming Simulator 22.
Hosting a server
To host a server in Farming Simulator 22, you can do so on the G-portal website that has game servers available for a reasonable price. Follow the steps below.
On the website, click on Rent a server on the left side of the screen, after doing so, search for Farming Simulator 22 in the “search for a game” column. You’ll be fetched a list of the game along with which platform you want to rent such as Playstation, Xbox, or PC.
Do keep in mind that these servers don’t support cross-platform. If you own the game on PC, select the PC version and choose your preferred slot. If you’re wondering what’s a slot, it means how many people are allowed to be on the server at once, if you have 16 slot servers, you can have 50 people that want to play on the server but have only 16 people online at the time. Select your preferred slot and select the location, and just go through PayPal. Once you’ve finalized everything, click on “Continue”, you’ll be taken to the payment process, select the method you’d want to make payment, and click on the pay button.
How to get started on FS 22 server
Now that you’ve bought your server, head to the dashboard of G-portal and click on your server and you’ll notice a few new settings that you’d want to take a look at. The important thing under those setting is that you make sure the restart schedule to daily or monthly (user’s preference). After that go to status and toggle the server online slider to “ON” on the upper side of the screen. You can also set the mod space on how many mods you want to install in the game. In the web interface panel, click on the green button and it’ll redirect to the actual server interface.
From here on now, you can change your server’s name, admin password, and change where it is on your save game slot if you wanted to use one. You can also change the map as the game provides you with 3 base game maps, you can change the language, career mode (empty savegames), and pause game if empty option and crossplay option. After making the necessary changes, click on Save and then click on Start, you can also add mods if you wish to. Once you’ve clicked on Start, it will show your server online and how much resources your server is consuming.
Accessing the server
Now that you’ve successfully set up your server, launch the game and then go to “Multiplayer” and then click on “Join Game”, after doing so, search the name of the server you’ve created. Once you’ve found your server, click on it and type the password you set for your server, and after typing the password, it will load the game and you can invite your friends and have fun.
Stay tuned for more updates at Digistatement.


