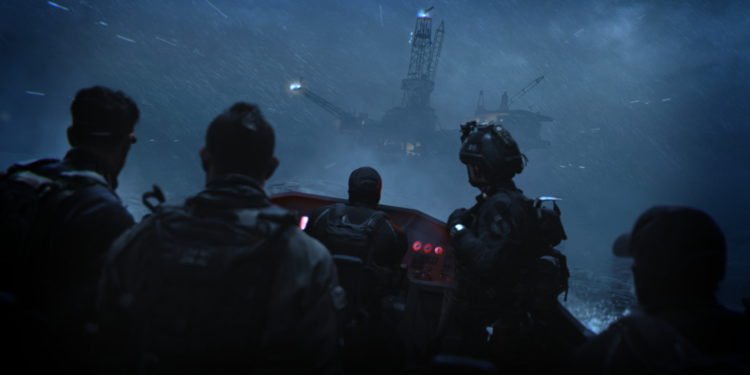
Call of Duty Modern Warfare 2 (II) is a game that is on the trending list these days. But, there are a number of players who are facing the Error Code 0x887a0005. They are not able to play the game due to this error. If you are also facing this error and are in search of a solution to this problem, then we are here to help. In this article, we will be covering all the important information regarding how to fix Error Code 0x887a0005 in Call of Duty Modern Warfare 2 (II).
Call of Duty Modern Warfare 2 (II) Error Code 0x887a0005: How to fix it
Follow these methods in order to fix this error on your system while playing Call of Duty Modern Warfare 2 (II):
Verify Integrity of Game Files
The very first thing that you can do is to check the integrity of your game files. To Verify the Integrity of Game Files on your PC for Call of Duty Modern Warfare 2 (II), follow these steps:
For Steam Users:
- Open the Steam App.
- Search for the game name on the Steam App which will be present in your Library.
- After this, right-click on it and select the ‘Properties’ option.
- Then, head to ‘Local Files’ and then select the ‘Verify Game Files for Integrity’ option.
For Battle.net Users:
- Open the ‘Battle.net’ app on your PC and click on the title of the game ‘Call of Duty Warzone 2’. You can find the name of the game in the Dropdown menu.
- After this, click on the icon that resembles a gear followed by selecting the ‘Scan and Repair Game Files’ option on your screen.
Run the game as Administrator
Running the game as an Administrator provides it with the necessary permissions. This is the reason why there are chances for the game to work well if you will start it in Administrator mode. In order to start the game in the Administrator mode, first right-click on the game’s .exe file (here title refers to COD MW 2) and select ‘Properties’. Then, head to the Compatibility Section and check the option “Run this program as an administrator”. After this, click on Apply.
Update Graphics Card Drivers
Updating your Graphics Card Drivers is extremely important to have an error-free experience while playing games. For this, simply head to the official website of your GPU manufacturer. From there, download the latest drivers and install them.
Roll Back GPU Drivers
If the error started occurring after the GPU Drivers are updated, then consider rolling back to the previous ones. Here’s how to do it:
- Head to the Windows Search section and then search for ‘Device Manager’.
- After finding the Device Manager, click on it.
- There, find the option having the name ‘Display Adapters’. After clicking on this option, you will be able to see the GPU that you are using.
- Double Click on the name of your GPU and you will be able to see your GPU properties. Look for the Driver option on the screen and select it.
- Click on the ‘Roll Back Driver’ option. Launch the game after the completion of this process.
Turn Off NVIDIA Ansel
- Head to the following directory- “C:\Windows\System32\DriverStore\FileRepository\nv_dispi.inf_amd64_d223212c0a2275b5\NvCamera\”
- There, you will be able to find a folder having the name ‘NvCamera’. Delete it.
- Next, search for CMD in the Windows Search Bar and then run Command Prompt as an Administrator.
- Type “NvCameraEnable.exe off” and then press the ‘Enter’ Key.
- Now close Command Prompt and launch the game.
If none of the methods worked for you, then consider reinstalling your game. For more such useful guides, make sure to stay tuned with us on DigiStatement.


