There are many Windows 11 users who are encountering the unusual Windows 11 Update Error 0x800f0988. If you are also dealing with a similar problem, then you are at the right place. This guide will show you multiple steps and methods that can easily help you get rid of this irritating error. So, let’s get right into it.
Fix: Windows 11 Update Error 0x800f0988
There are multiple methods that you can implement to fix this error. Try each of the methods mentioned below individually to see which one helps you out:
1) Run Update Troubleshooter
To run the Windows Update troubleshooter, follow these steps:
- Open Settings from the Windows Search Bar and select “System”.
- Scroll down and select “Troubleshoot”.
- Select “Other Troubleshooters”.
- Select the “Run” option present in front of “Windows Update”.
Once it is completed, restart your PC and try updating Windows again.
2) Restart Service
Restarting the Windows Update & Background Intelligent Transfer Service can also fix this issue. To do that, go to Services by typing “services” in the Windows Search Box. Now, search for the “Windows Update” service. Double-click on it to open a new window. Here, make sure that “Startup Type” is set to “Automatic”. After applying the changes, come back to the previous window and while “Windows Update” is selected, click on “Restart the Service” at the top left corner. Repeat the same for “Background intelligent transfer service”. After this, restart your PC and try updating it.
3) Use Windows 11 Installation Assistant
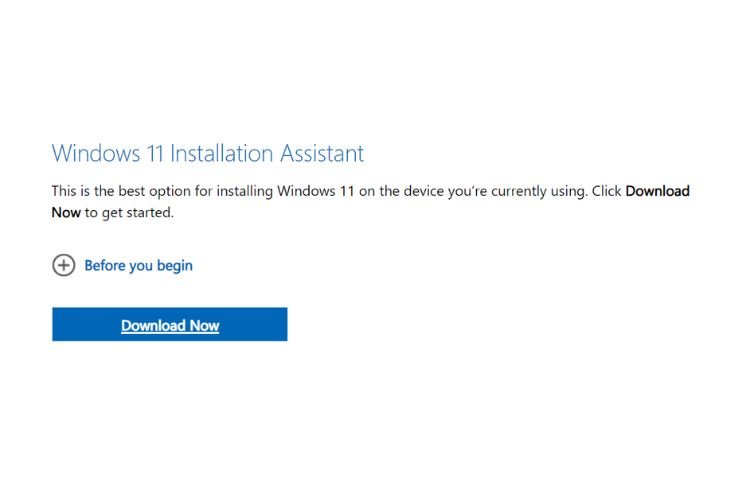
If you are still encountering the same error, you must take the help of the Windows 11 installation assistant via this link. If the assistant is not working properly, you must run it in the compatibility mode for Windows 7. For that, right-click on the downloaded file, select Properties, and under the Compatibility tab, select Windows 7 from the drop-down options.
4) Use Microsoft Update Catalog
Head to this link to jump to the Microsoft Update Catalog website. In the search box present there, mention the update you are encountering this error with and it will give you the link to download the update. After downloading, install it and the update should be successful.
5) Reset Windows Update Components
Open notepad and paste the following commands in it:
SC config trustedinstaller start=auto
net stop bits
net stop wuauserv
net stop msiserver
net stop cryptsvc
net stop appidsvc
Ren %Systemroot%\SoftwareDistribution SoftwareDistribution.old
Ren %Systemroot%\System32\catroot2 catroot2.old
regsvr32.exe /s atl.dll
regsvr32.exe /s urlmon.dll
regsvr32.exe /s mshtml.dll
netsh winsock reset
netsh winsock reset proxy
rundll32.exe pnpclean.dll,RunDLL_PnpClean /DRIVERS /MAXCLEAN
dism /Online /Cleanup-image /ScanHealth
dism /Online /Cleanup-image /CheckHealth
dism /Online /Cleanup-image /RestoreHealth
dism /Online /Cleanup-image /StartComponentCleanup
Sfc /ScanNow
net start bits
net start wuauserv
net start msiserver
net start cryptsvc
net start appidsvc
After pasting all these commands in the notepad, save the file by naming it “Wufix.bat” and selecting the type as “All Files”.
Once this file is saved, make right-click on it and select “Run as administrator”. It will open Command Prompt and the process will start. Once the process gets completed, restart your PC and try updating the Windows now.
6) Media Creation Tool
You can also try installing the Windows 11 update using the Media Creation Tool. Go to the official website and download the Media Creation Tool application. Once downloaded, run the .exe file to install the tool. Once it is installed, open the tool and run the setup to start installing Windows 11 update.
So, this was everything about fixing the Windows 11 Update Error 0x800f0988. If you found this guide helpful, share it with your friends.
Related: How To Fix Steam Captcha Not Working issue on Windows 11?


