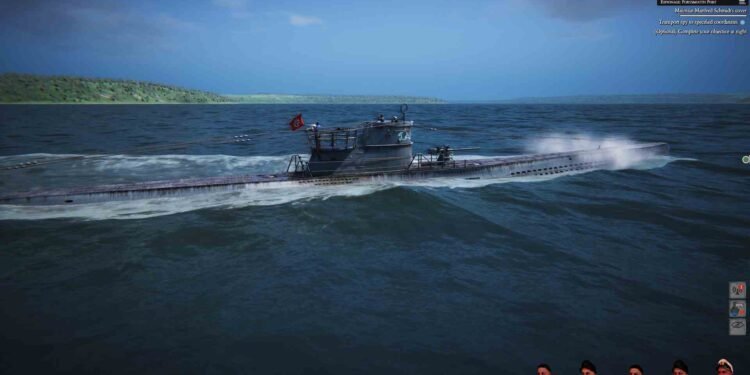
UBOAT is all about an immersive and detailed submarine experience, where managing a U-boat and its crew during World War II is what you will be tasked with. The game is good enough to keep you on the edge of your seat and it also provides a range of console commands to tweak gameplay and experiment a bit. But if that does not scratch your itch, you have the option to install mods as well! Yes! custom modifications to add new features, improve realism, or simply try something new. But how do you install these mods? Well, here we are with the answers.
Unlike many other games, UBOAT has an active modding community with frequent updates and new content. The game supports Steam Workshop, where modders regularly release new mods. And that is not all; popular mod hosting sites like Nexus Mods also feature a variety of mods for UBOAT. With all these mods to choose from, getting the most out of UBOAT is just a matter of knowing how to install them. So without further ado, let’s get right into the details.
UBOAT: How to install mods?
Since you can get Uboat mods either from Steam Workshop or third-party mod hosting sites, we have explained the methods for both of these sources. So, here’s a detailed guide on how to install mods for UBOAT.
Installing Mods from the Steam Workshop
First of all, open Steam and go to your Library. Then find UBOAT in your list of games and click on it. Click on the “Workshop” tab to access the Steam Workshop for UBOAT. Here, you can browse and choose the mods you want. You can also use the search function to find specific ones. Click on a mod to view its details and make sure it’s compatible with your version of the game. Next, Click the “Subscribe” button to download and install the mod. Steam will automatically handle the download and installation process. Now to Activate the Mod:
- Open up your Steam client, and then select the game launcher from the Steam library.
- In the game launcher, select the mod and enable it, then start a new game.
Keep an eye on the Steam Workshop page for updates to your subscribed mods. Steam will usually handle updates automatically.
Installing Mods from Nexus Mods
Find the mod you want to install and read through the description to make sure it is compatible. For the most part, the installation process for that specific mod is given in the description. Anyway, on the mod page, click on the “Files” tab and download the mod file. Mods are typically provided as compressed files (e.g., ZIP, RAR) and you will have to use a file extraction tool like WinRAR or 7-Zip to extract the downloaded mod file. Extract the contents to a location on your PC where you can easily find them. The next step is to locate the Mods folder of the game. This is typically found at C:\Users\[username]\AppData\LocalLow\Deep Water Studio\UBOAT\Mods.
Here, look for a folder named “Mods” or similar. If it doesn’t exist, you will have to create it. Then, create another folder inside the Mod folder with the same name as the mod. After this, all you have to do is copy the extracted mod files into the newly created folder. Next, activate/enable the mod from your game launcher through Steam.
And, that’s all. You are set to install all the mods you want for the game. Right now, there are not many mods compatible with the full release so you have to be cautious while downloading them because, remember, modding comes with its risks! To avoid it, make sure not to install a ton of mods at once and keep a backup of the original unmodded game at all times, just in case things go wrong. Anyway, that’s all for this guide but for more awesome gaming guides and news like this, stay tuned to DigiStatement. Read more: UBOAT New Console Commands list


