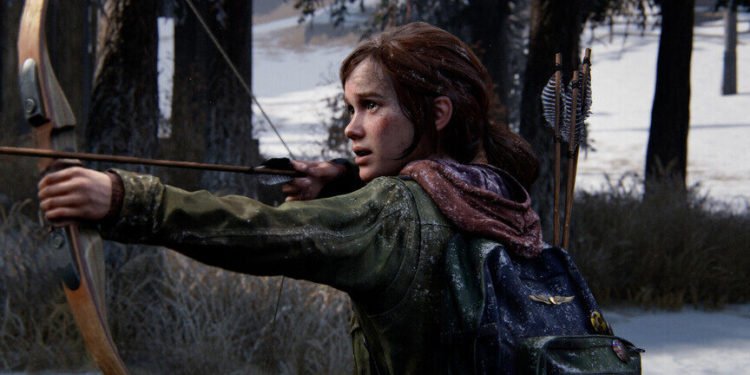
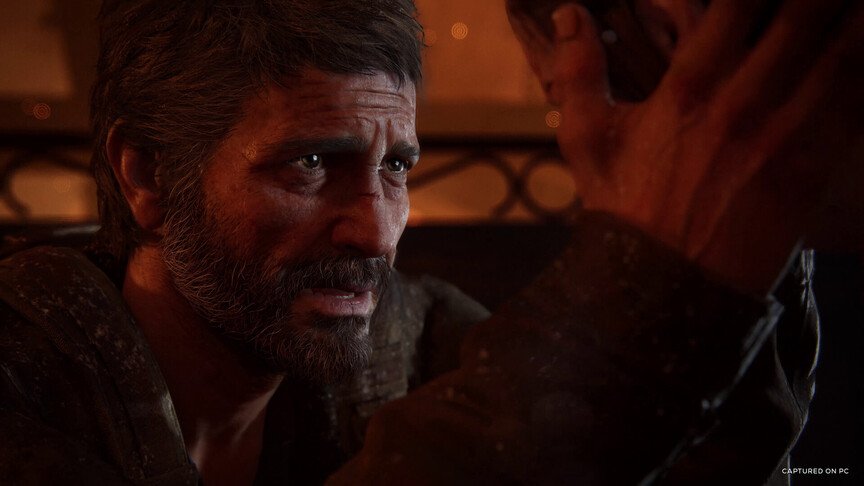
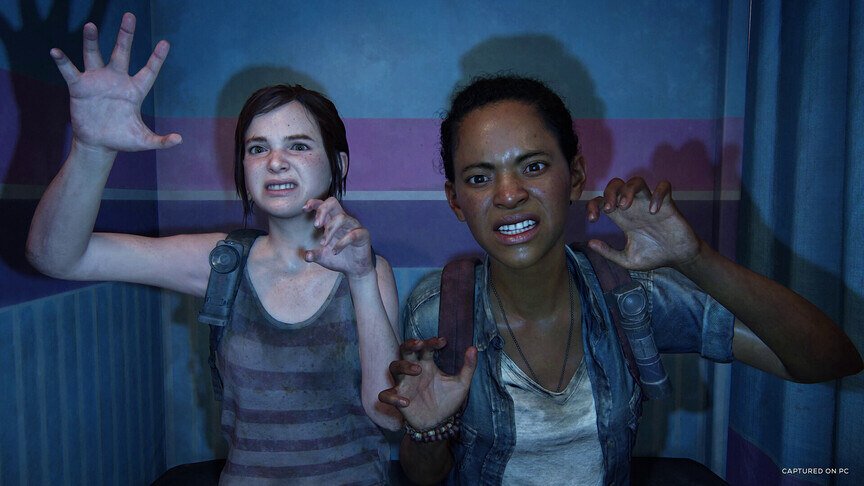
Last of Us Part 1 is finally available on PC but folks aren’t too happy about it. The main issue is the numerous bugs and errors that have rendered the game unplayable for a huge majority of fans. Recently, folks ran into the “A GPU Supporting D3D FEATURE LEVEL 12 Or Higher Is Required” error while trying to launch the game. Players are therefore wondering how to fix this issue on their PC. Well, there are a couple of ways to do so. Below, we have assorted a list of such methods that will help you out.
Folks on PC have been waiting for quite a while to play Last of Us Part 1. The game is fantastic and has a great story. The graphics are also really good and you will enjoy every moment of the game. That is if you can launch it on your system. A lot of players have reported that they are unable to do so due to certain issues. Some reported that the game simply crashes or outright refuses to launch at all. Well, we are quite sure that the devs will be bringing fixes to such issues soon, but in the meantime, you can try out our workarounds to get rid of the error.
| Also read: How to fix the Insufficient Memory error in Last of Us Part 1?
The Last of Us Part 1 A GPU Supporting D3D FEATURE LEVEL 12 Or Higher Is Required Error: How to fix it?
As the name suggests, this issue is related to your GPU and its drivers. Now, there are a couple of ways to resolve this issue on your PC. We have listed all these methods below for you. You will also find some general troubleshooting tips that will come in handy.
1) Restart the game and your PC-
First and foremost, you will need to restart your game and then your PC. This generally fixes small bugs and glitches and resolves false alarms. So, close the game and all the background tasks, and then reboot your PC. Then, try launching Last of Us Part 1.
2) Update your GPU drivers-
Next, make sure that you have the latest GPU drivers installed on your PC. This is very important because your GPU renders most of the things in video games. So, visit NVIDIA’s or AMD’s website and check if there is a new version available. If there is, then make sure to promptly download and install it on your PC. Always keep your GPU drivers up to date for optimal performance.
3) Check the system requirement-
Your PC must meet the minimum system requirement mark if you wish to enjoy Last of Us Part 1 without any issues. This is important because the game is quite resource-heavy and uses a lot of RAM and GPU to run smoothly. Below, we have the official minimum system requirement list for the game.
- Intel Core i7-4770K or AMD Ryzen 5 1500X processor.
- 16 GB RAM
- NVIDIA GeForce GTX 1050 Ti (4 GB) or AMD Radeon RX 6500 XT (4 GB) GPU.
- 100 GB available storage space.
4) Make sure that your GPU is DX12 compatible-
According to a lot of players, you will run into this issue if your GPU is not DX12 compatible. Although you will not find this in the official system requirement list, this seems to be affecting the game. Now, most modern graphics cards are compatible with DX12 so you don’t need to worry about this. But, in case you have an older GPU, then it is possible that it does not support this feature. So, your only option is to upgrade your GPU and get a new one.
5) Verify the game files-
A lot of times, you might get this error if you have corrupt or missing game files. Fortunately, you can resolve this problem by verifying or repairing the game files on your PC. Below, we have a list of steps on how to do so.
- Launch Steam and go to Library.
- Right-click on Last of Us Part 1 and select Properties.
- Head over to the Local Files tab.
- Click on the Verify integrity of the game files option.
- Wait for the process to complete.
6) Use the dedicated GPU-
Now, if you have more than one GPU on your system(usually in Laptops), then you must run the game using the dedicated one. This GPU has more power and will run the game more efficiently. Although your PC automatically uses this GPU, sometimes you need to switch it manually. There are two ways to do so-
Through NVIDIA Control Panel-
- Press the Windows key and type NVIDIA Control Panel.
- Go to the 3D Settings tab.
- Click on Manage 3D Settings.
- Next, go to the Programs tab and click on Last of Us Part 1.
- Now, look for the preferred graphics processor option and select High-Power NVIDIA GPU.
Through the graphics settings-
- Press the Windows key and type Graphics Settings.
- Click on browse and go to the game’s installation folder.
- It is usually at Steam/steamapps/common/Last of Us Part 1.
- Click on the executable file and then select Add.
- Next, click on the game and then click on Options.
- Now, select High-Performance from the menu.
7) Increase the virtual memory of the drive-
It is possible that you have less virtual memory in the drive where you have installed Last of Us Part 1. So, you might need to manually increase the value so that the game can run properly. But before this, you will need to do a few calculations. Check how much RAM you have installed on your PC and then convert the value to megabytes. For example, if you have 8 GB RAM, then do the following calculation- 8*1024. This will give you 8,192. Now, follow these steps-
- Press the Windows key and type View Advanced System Settings.
- Go to the Advanced tab.
- Next, click on Settings under the Performance tab.
- Now, click on the Advanced tab again and then click on Change.
- Look for “Automatically manage paging file size of all drives” and uncheck the box next to it.
- Click on the drive where you have installed Last of Us Part 1.
- Now, in the box next to the “Initial Size” option, enter the following value- RAM size (in megabytes)*1.5.
- In the box next to “Maximum Size”, enter this value- RAM size (in megabytes)*3.
- Next, click on Set and then on Ok.
- Finally, click on Apply and then On and then close the window.
- Once you do this, reboot your PC.
8) Reinstall the game-
If nothing else works out for you, then your last option is to reinstall the game. So, uninstall Last of Us Part 1 from your PC and then do a fresh installation. Now, check if the issue persists.
Well, this also brings us to the end of the article. We hope that you were able to resolve the issue for good. Stay tuned to Digi Statement for more such gaming guides.


