The year 2020 has been full of surprises including OnePlus launching its non-flagship devices for the first time. OnePlus has emerged out to be one of top tech-companies today because it offers premium smartphones in mid-range. Some of the non-flagship models are :- OnePlus Nord, OnePlus N100, and OnePlus N10 5G. In this article, we are going to show you the step by step process to root the OnePlus Nord N10.
OnePlus Nord N10 is non-flagship mid-range smartphone which was launched last month and comes with amazing features. The device is loaded with Qualcomm SM6350 Snapdragon 690 5G (8 nm) octa core chipset with Oxygen OS 10.5 running on Android 10. The quad camera setup (64MP + 8MP + 5MP + 2MP) on the rear gives the device more aesthetic look. The device is available in 6GB RAM+128GB storage variant pricing $ 316.08(roughly Rs. 23473.52).
Another interesting thing is that OnePlus allows its users to unlock the bootloader with ease and modify their phones as per their choices. Users can easily root their devices without using any custom recovery. By rooting the device, users can add many functionalities to the devices like Custom boot animation, third party themes, custom fonts and many more. We are going to show you how to root your OnePlus Nord N10.
GUIDE TO ROOT ONEPLUS NORD N10
Magisk is a tool that you can use to root your device. But before rooting, it is required to unlock the bootloader. The steps to unlock bootloader are as follows: –
Unlock Bootloader of OnePlus Nord N10
1) Backup your data prior starting the process as your data will be completely erased.
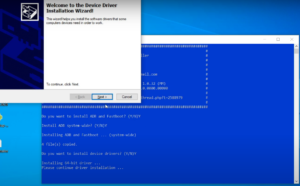
2) Install ADB & Fastboot driver software on your computer.
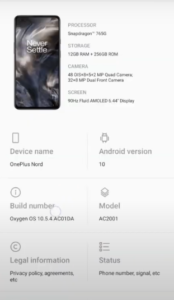
3) Go to “About phone” option in the system settings.
4) You will see “Build number” option. Tap about 7-8 times on it till you see a message saying “You are now a developer.”
5) Go back to System > Developer Options and enable OEM Unlocking & USB Debugging.
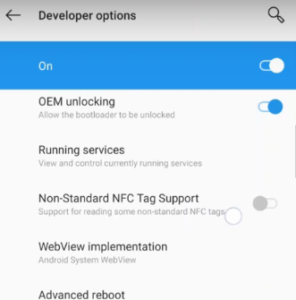
6) Now, long press the power button and an option “Bootloader” will popup.
7) Select “Bootloader” and now your device will boot into Fastboot Mode/Bootloader mode.
8) Meanwhile connect your Nord N10 to the computer.
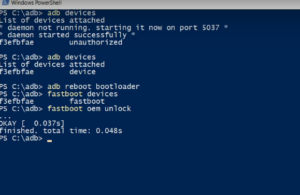
9) To check if the device is connected or not enter the following command in the cmd prompt: –
- fastboot devices
10) After confirming, enter the below command: –
- fastboot devices
11) Some options will prompt on your device. Select ‘Unlock the Bootloader’ and press the Power button by toggling options using the volume buttons.
12) The device will restart after finishing the unlocking. The process will remove all the data and USB Debugging.
13) Finally set up your Nord N10 with unlocked bootloader.
After unlocking the bootloader, we can finally proceed to root the device. Have a look at the steps below.
1) Copy the downloaded boot.img to your OnePlus Nord N10.
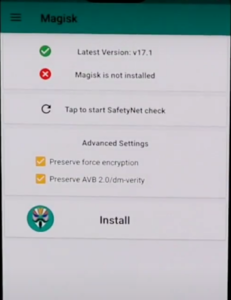
2) Install Magisk software on your phone.
3) Choose “Select and Patch a File” option to locate the boot.img that you copied earlier.
4) After patching is done, you will see a file named magisk_patched.img in your Download folder.
5) Copy the file from your device to computer location C:\adb location and rename it with boot.img.
6) Follows the steps of Unlocking the bootloader to Fastboot the device.
7) Meanwhile, connect the device to your pc.
8) Open command prompt in the location -C:\adb.
9) Enter the below command and it should return some id.
- fastboot devices
10) To flash patched boot image and finally root your Nord N10, enter the below command: –
fastboot flash boot boot.img
11) Once the process is complete, reboot your device to enjoy the complete root privilege.


