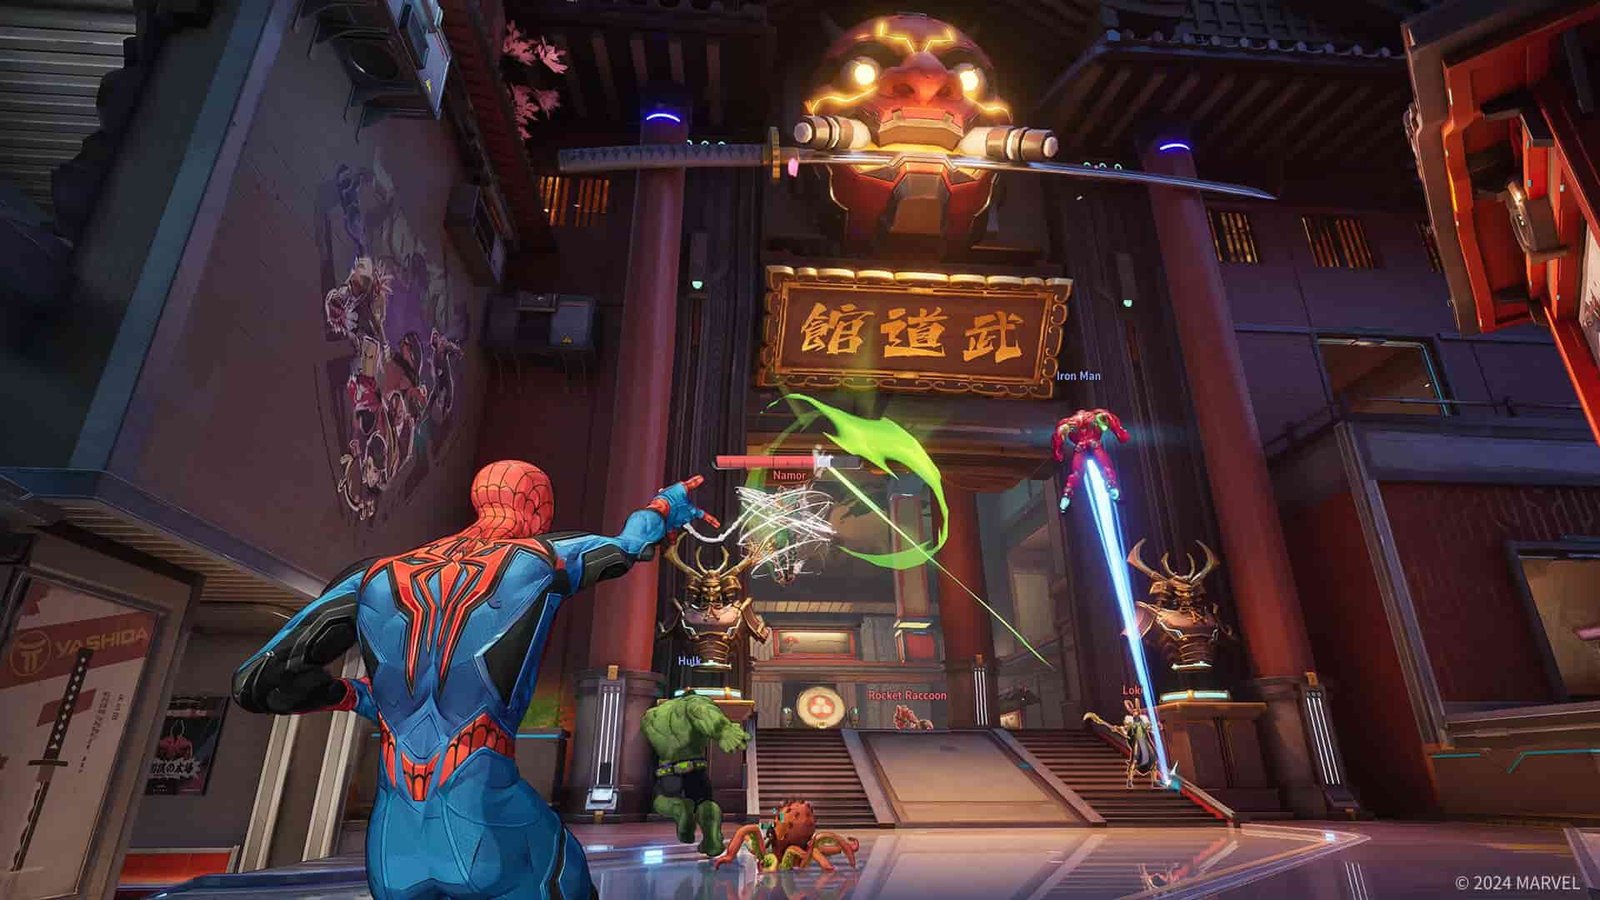
Marvel Rivals is a fairly new game and requires decent hardware to run. If you have a PC with sub-par specs but want to enjoy the game, you won’t be able to do so without installing an FPS boost mod that can enhance performance significantly. Well, it is quite obvious that the increase in FPS can only be achieved by drastically lowering the graphics. That’s a trade-off you need to bear. Anyway, if you are ready for this, consider reading this guide for the steps required to install the most popular FPS boost mod for Marvel Rivals for a huge FPS boost.
Unlike consoles, PC gaming has some really unique advantages, and among them is modding. You can basically mod any game given that they are modding-friendly and there are mods available for them. While most single-player games are moddable, multiplayer games, on the other hand, support modding to a certain extent. Unlike single-player games, you can’t add mods that alter the game’s base code in multiplayer games. Only cosmetic mods and config mods can be used in multiplayer games. Marvel Rivals is no exception. On Nexus Mods, you can find a variety of mods for the game that introduce new skins, with most offering the exact opposite. Anyway, since you are looking to increase the game’s FPS on your PC, your focus should be on the FPS Performance Enhancer mod. Shared by jackknife2025, this mod does its job of lowering the in-game visuals to a certain level to gain better FPS. Want to know how to use it? Continue reading.
Also read: Marvel Rivals Controller Not Working on PC & Steam Deck: Is there any fix yet
Marvel Rivals Best FPS Boost Mod to Increase Performance: How to install
Well, to install the mod, you will have to download it first. You can do so by visiting the Mod Page on Nexus Mod by clicking here or simply clicking here to start the download of all mod files. Once you download the mod files, now it’s time to apply it in Marvel Rivals.
Choosing the right .ini file
After downloading, you will notice that there are multiple .zip files with unique names. These are the .ini files, which are the primary config files used by the game. But which one should you choose? Well, it really depends on the system specs. You will have to try them one by one to check which config file gives the best result or which suits your needs in terms of performance and visuals both.
Copy-pasting the .ini file
To use this .ini file, first launch the game, and then apply a settings preset in the Display tab, preferably the lowest one. After you have saved the changes, exit the game, and then open the File Explorer. Now, copy this path and paste it in the address bar: “%LOCALAPPDATA%\Marvel\Saved\Config\Windows”. Press Enter, and then you will be taken to the Windows folder of the mentioned directory. Here, notice the GameUserSettings.ini file? You will need to replace this file with any of the ones you found in the mod folder. Before you begin copying, make sure to extract the .ini file. Don’t copy the .zip file. After extracting, simply copy any of the GameUserSettings.ini file from the mod folder and then paste it in the game folder. After this, select the Replace option if prompted. Once done, you are halfway there.
Copy-pasting the .pak file
The next step is to place a .pak file in the game’s installation directory. To access the game’s installation directory, follow these steps:
- For Steam: Open Steam, go to Library, right-click on the game, select Properties -> Installed Files -> Browse.
- For Epic Games: Open EGL, go to Library, right-click on the game, select Manage, and click the folder icon (next to the “Uninstall” button).
Once you are in the game directory, follow this path: MarvelGame\Marvel\Content\Paks\. Here, create a new folder named “~mods”. Once created, go back to the downloaded mod folder and extract the contents of the Mod File Potato .zip file. After extracting, you will have access to the PotatoFPS.pak file. Copy this file and paste it in the ~mods folder that you just created in the game’s installation directory. Once done, you are all set to enjoy Marvel Rivals with a huge FPS boost.
Note: While these config files come with pre-determined values, you can also go the DIY route and tinker with each setting accordingly. We, however, do recommend that you back up the files before you do this. Also, to reset to the default configuration, simply delete the .ini file and launch the game. It will automatically create a new one.
With that said, this wraps up our guide on how to install the best FPS boost mod for Marvel Rivals. We hope that you find this guide informative. If you did, consider visiting DigiStatement daily for more such interesting gaming reads and guides.


