If you’ve been playing Life is Strange: Double Exposure and find yourself stuck on the “Talk to Vinh” objective in Chapter Three, you’re not alone. Many players have encountered this issue and are wondering whether it’s a major bug or just a minor misunderstanding within the gameplay. In this guide, we’ll dive into what’s really going on with this objective and provide some guidance to help you move forward, clearing up any confusion along the way.
In Chapter Three of Life is Strange: Double Exposure, some players find themselves stuck after talking to Lucas and switching to the “dead world” to investigate his office. Although the objective is to talk to Vinh, players can’t proceed because the key they need (located under the family photo) isn’t accessible. When trying to view the family photo, the screen goes black, although rotation and zoom controls remain visible, making it impossible to retrieve the key and move forward in the story. Well, let’s see if there is a fix for this as well.
Life is Strange Double Exposure Stuck in Chapter Three (Talk to Vihn Objective): Is there any fix yet
The confusion likely stems from the requirement to switch between the living world and the dead world at specific points. Many players may overlook the necessity of returning to the dead world to investigate Lucas’s office further, as objectives aren’t always clear in this transition. Additionally, the black screen glitch when viewing the family photo can make it appear as though nothing is there, leading players to believe the photo interaction is bugged. Anyway, to complete the objective of “talking to Vinh” in Chapter Three of Life is Strange: Double Exposure, follow these steps:
- Double-check Objectives: After chatting with Lucas in the living world and exhausting the dialogue options, you should have an objective to speak with Vinh in the admin building and gather more information about Maya.
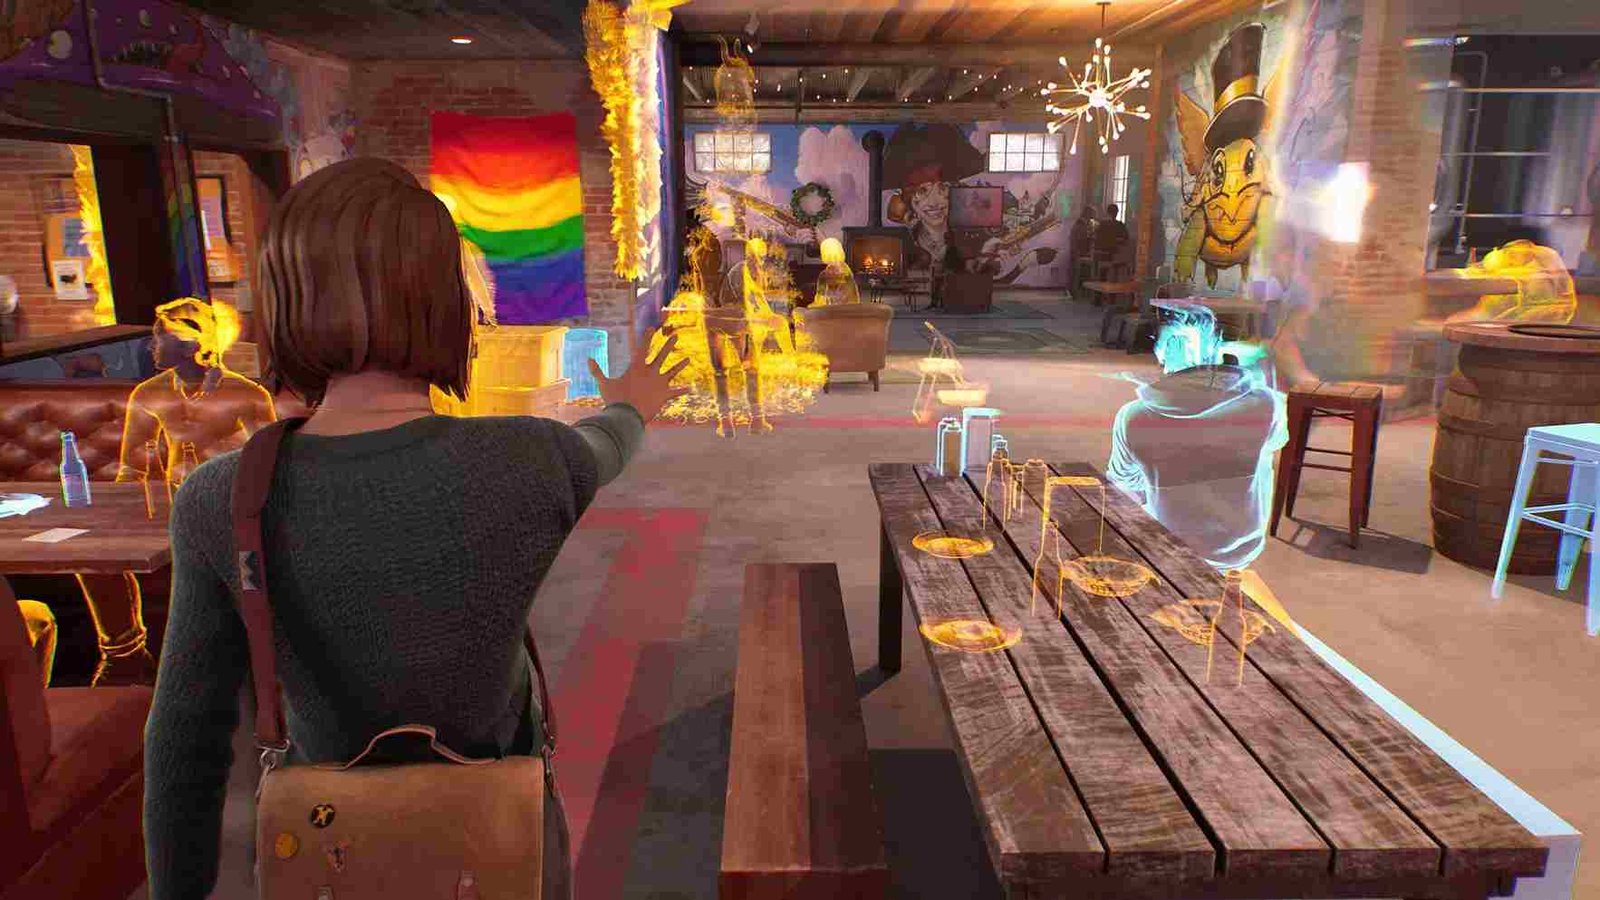
- Switch to the Dead World: If you’re stuck and unable to progress after speaking to Vinh in the living world, this is because you need to enter the dead world instead. Head back into Lucas’s office, but ensure you’re in the dead world version, where Lucas is no longer present.
- Explore Thoroughly in Dead World: Once inside Lucas’s office, take the time to inspect everything. Look through all items and areas in the room to ensure no interactive elements are missed.
- Examine the Family Photo: This step is crucial. There’s a family photo in the office that holds the key to progressing. Interact with this photo, and use the interface to rotate it to reveal the underside of the frame. This can be done by rotating the frame until you can see a hidden compartment below.
- Retrieve the Key: Once you rotate the family photo to expose its underside, a key will appear. Select the option to “Take the Key.”
- Unlock the Golden Typewriter: Now, look around the office to find a golden typewriter. Walk up to it, and you should see an option to use the key to unlock it. This will reveal new information critical to the storyline.
Black Screen Glitch workarounds
Coming to the glitch associated with the key, here are some workarounds that might help. First off, exit the game to the main menu and reload your most recent save file. This solution worked for several players who, after reloading, were able to interact with the photo and retrieve the key. If that does not work out, some players have also found success by restarting Chapter Three from the Chapter Menu. To do this, exit the main menu, select Chapter Three, and restart it from the beginning. Similar to restarting the chapter, you can also reload the specific scene within Chapter Three from the Chapter Menu. This method skips the need to replay the entire chapter and allows you to pick up where you left off but without the glitch. If you feel like you have encountered a visual bug where the photo could be seen but didn’t display clearly, making it hard to locate the key, continue rotating the photo frame until a prompt appears mentioning the “key.” Selecting this prompt will allow you to collect the key, even if the photo itself isn’t fully visible.
With that said, we hope that you now know how to fix the issue. And, for more gaming-related queries, make sure to visit DigiStatement first! Also, for other similar reads on Life is Strange, click here.


