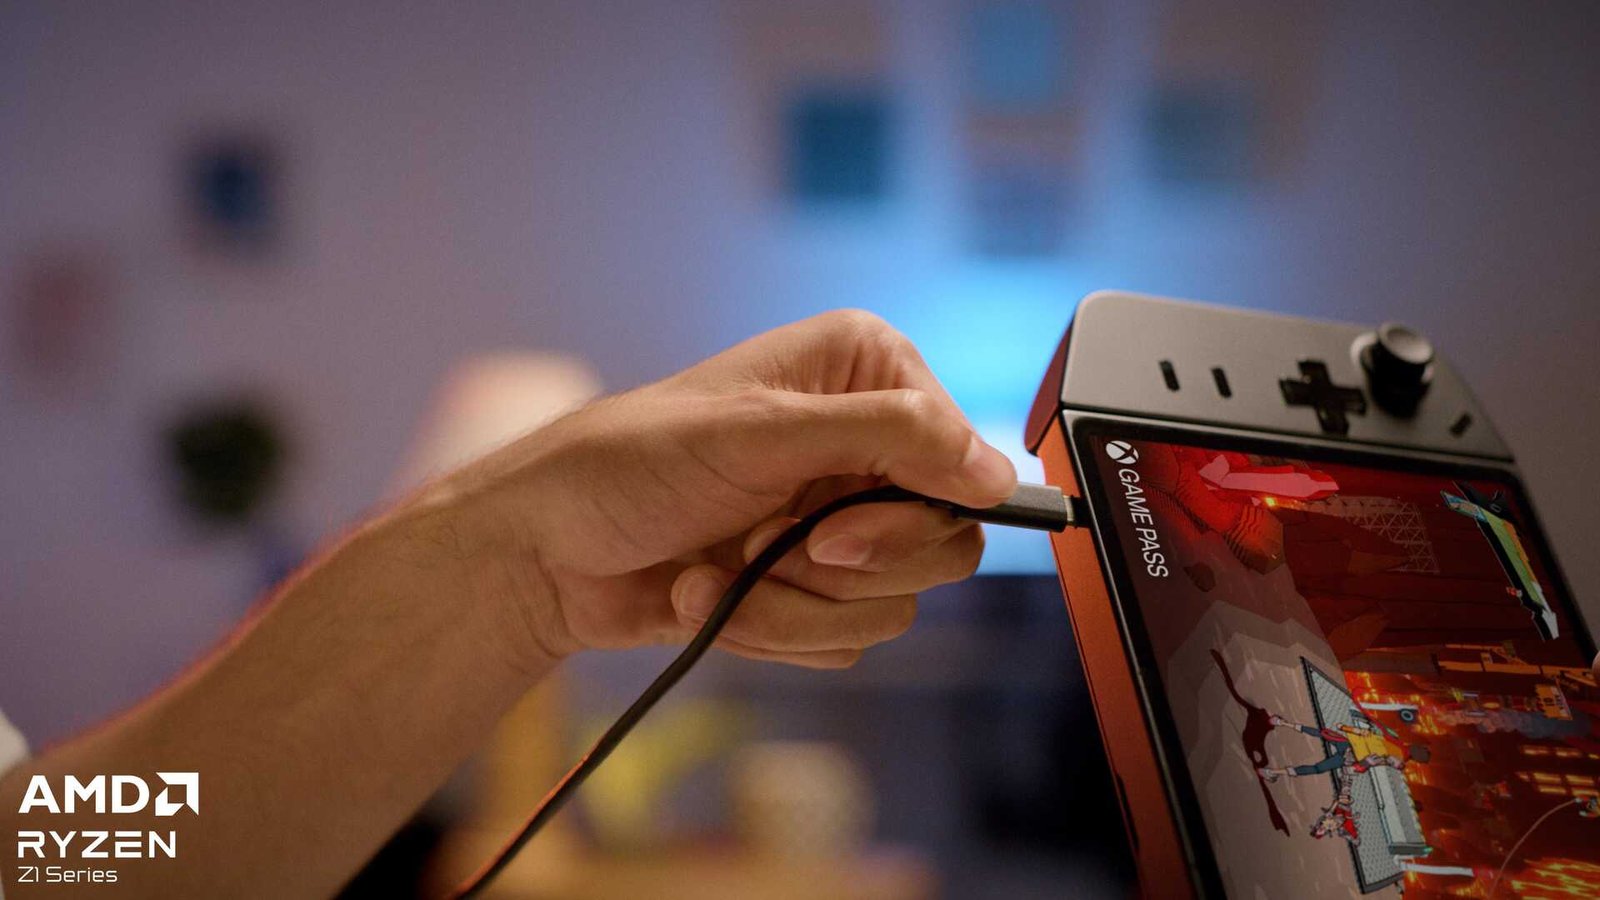
The Lenovo Legion Go is another new gaming handheld that made its debut this year. As the name suggests, the handheld is from Lenovo and boasts pretty powerful specs. Along with Legion Go, users now have three mainstream gaming handhelds to choose from. The other two are Valve’s Steam Deck and Asus’s ROG Ally. Compared to the other two, the Legion Go is a quite good choice if you want to buy one. And many already have. However, with a new handheld, it’s always best to know the most suitable settings for it so that you can get high fps and great performance on your games.
The Lenovo Legion Go comes with an AMD Ryzen Z1 Extreme and 16GB 7500MHz LPDDR5X. That’s the same chipset that comes with ROG Ally. And just like the ASUS Rog Ally, the Lenovo Legion Go also uses Windows as its OS. Now, unlike the Steam Deck’s SteamOS, Windows is an OS that tends to eat a lot of resources. While there have been rumors going around that a handheld version of Windows is in the works, for now, both Legion Go and Rog Ally have to use the normal version. As such, you should try to know the best settings for high FPS & performance in games. So, here’s a guide for that exactly.
Lenovo Legion Go Best Settings for High FPS & performance in games
The very first thing that you should do is make sure that you have the latest Windows update installed on your handheld. After that, head over to Legion Go Life’s website and get the latest drivers from there. You should also go to AMD’s official website and download the latest drivers.
You should also download and install the latest AMD Adrenaline version. To do that, head over to AMD Drivers and Support and then scroll down. Select Processors with graphics and then AMD Ryzen Processors > AMD Ryzen 7 Processors with Radeon Graphics > AMD Ryzen 7840U. Now, click on the Submit button and download AMD Software: Adrenaline Addition. After this, it’s time to upgrade your Go’s VRAM and enable BIOS Flashback.
- Head to Lenovo Support and click on PC > View PC Product > Browse Product.
- From the options present, select Laptops. When asked to select a series, scroll down and choose Legion Series Laptops. For the subseries, select Legion Go 8APU1.
- On the next page, select Drivers & Software and then Manual Update.
- There will be a number of drivers available but the one we need to select is BIOS/UEFI. Now, download the BIOS Update.
- After that, turn off the Legion Go. Next, hold the power button along with Volume Up.
- From the Novo Boot Menu, select BIOS Setup > More Settings.
- Now switch to the Configure tab and set the UMA Buffer Size to 4G. There’s also an 8G option, so you can choose that if you want. Also, in a few options down below, you will see the BIOS Back Flash option. Enable it.
- Once that’s done, switch to Exit > Exit Saving Changes.
Disable memory integrity and virtual machine platform
- Type in Sign-in Options in the search bar and open it.
- Scroll down and turn off the “For improved security, only allow Windows Hello sign-in for Microsoft accounts on this device (Recommended)” option.
- Now, once again, click on the Search bar and type in Core isolation.
- Once that’s open, toggle off Memory Integrity.
- Lastly, type in Windows Features into the search bar and open Turn Windows Features on or off.
- Scroll down until you find the Virtual Machine Platform in the list below.
- Uncheck that option and then click OK.
- Now, restart Legion Go.
If you want to use your joysticks for the mouse and buttons for clicks, open Steam and then Settings. Scroll down to the Controller tab and toggle on Enable Steam Input for Xbox controllers. After that, scroll down and click Edit near the Desktop Layout option. Click on Edit Layout and modify your buttons to whatever input you prefer.
You should also make sure to turn on RSR. That can be done by opening the Legion Space app. Navigate to Settings and switch to the Performance tab. Now, toggle on Radeon Super Resolution (RSR).
Remove Bloatware
If you want to use the Lenovo Legion Go as a dedicated gaming device, removing bloatware is going to help you a ton with that. However, if you don’t, then you can ignore this one if you want to do so. So, in order to remove bloatware, what you need to do is download and install BloatyNosy. After the installation is done, if you are using the Xbox app, remember to head to the Gaming tab and uncheck the Disable Game DVR Feature. Next, click on Fix > Apply fixes. A command prompt will open next. Type yes, and wait for the process to finish. After that, click on Find more apps at the bottom left corner and select BloatPilot. Now, you can remove any apps you don’t want to use. Just remember to not delete anything Xbox-related. Click on the Empty Bin and Remove Apps button and select Yes. The app will now start removing apps. After that, click on WinModder > Explore Mods > Install and update the Mods signature file. From WinModder Marketplace, download Chris Titus Tech’s Windows Utility—install Programs, Tweaks, Fixes, and Updates. Once it’s downloaded, checkmark it and click on Apply.
When the newly downloaded mod opens, switch to the Tweaks section and select Desktop. Now, checkmark the following options:
Essential Tweaks
- Run OO Shutup
- Disable Telemetry
- Disable Wi-Fi Sense
- Disable Activity History
- Disable Location Tracking
- Disable Homegroup
- Disable Storage Sense
- Disable Hibernation
- Set Services to Manual
Advanced Tweaks
- Enable NumLock on Startup
- Disable Mouse Acceleration
Now, click on the Run Tweaks button and once the process is over, exit the mod. You can now close BloatyNosy. Next, restart the Lenovo Legion Go.
Besides all this, if you are willing to get more performance out of games at the cost of graphics, try lowering in-game resolutions and such. And make sure that every game is updated to the latest version. You can also try to run a game in Windowed or Borderless Windowed mode if running a game on Fullscreen is eating up a lot of resources.
Also, when you are in handheld mode, which we are sure you will be in a lot, make sure Thermal Mode is set to Custom in the Performance section. For Custom TDP, set it to 30W and change OS Power Mode to Performance. This will give you a lot more performance but do know that it will drain your battery pretty fast. If you want longer battery life, change OS Power Mode to Efficiency and Custom TDP to a lower one. While you are in Settings, switch to the General tab and toggle off the “Boot automatically into the Legion Space” option. By disabling that option, you will have more available system resources to run your games on.
For now, this is all you need to get the best performance out of your Lenovo Legion Go. Additionally, if you want to know how to set up and install CryoUtilities on the Steam Deck, check out this guide. And as always, keep following DigiStatement for more guides like this. Also read: Dead by Daylight Crashing for players playing as Legion: Is there any fix yet


