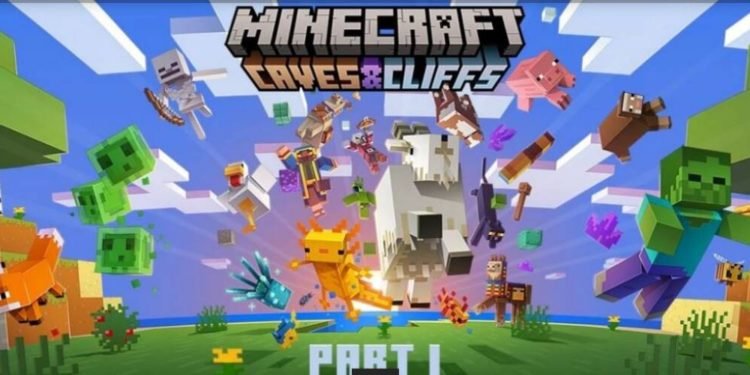
Are you also looking for the ways through which you can Install the caves & Cliffs Update for Minecraft in Windows 10? If yes, then read the full article to know how to do this.
Developed and published by Mojang, Minecraft is one of the most popular multiplayer-sandbox games in the world. It facilitates a separate limitless world wherein you can build your stuff like house, territory, etc. It was released in 2011. Since then, the game has evolved and upgraded itself many times. In this article, we are going to talk about several ways that can help you install the caves and cliff update for Minecraft in Windows 10. So, here is what you need to know about it.
Caves & Cliffs Update (1.17.20)
On June 8, 2021, Minecraft released the Caves & Cliffs Update: Part 1. Many new things are arriving in this new update. Moreover, all the items of Caves & Cliffs Update will be seen after the release of Part 2 of this update. It includes new mobs and different features. Visit here to check out all the details regarding the this update. Here are some steps by which you can install the new caves & cliffs update in Windows 10.
- Open the Microsoft Store.
- Click on the 3 Dots (…) option on the top right corner of your screen and click on “Downloads and Updates”.
- Now, click on the “Get Update” option on the Top Right Corner of your screen. This step will surf for all the available updates that have been released recently for installed applications and games.
- After that, you will see that Minecraft will pop up and the store will start installing the update. You must ensure that Minecraft is not running in the background while the update is installing.
- Congratulations! You have installed the update successfully. The update of Version 1.17.20 weighs around 77MB.
If you found this article helpful, share it with your friends who have not updated their Minecraft Game.
Read more: How to Install Minecraft 1.17 Caves & Cliffs Update with TLauncher
For the latest gaming news, head here!
Enjoy Gaming!!

