Often times we find ourselves facing multiple errors, that usually need a single, simple yet significant fix. Several related errors can often be fixes by the same methods, even if they occur together. In this article, we are going to learn how to fix Dying Light Error 0xc000007b, Missing MSVCP140.dll and VCRUNTIME140.dll Error. Here’s everything you need to know:

Dying Light
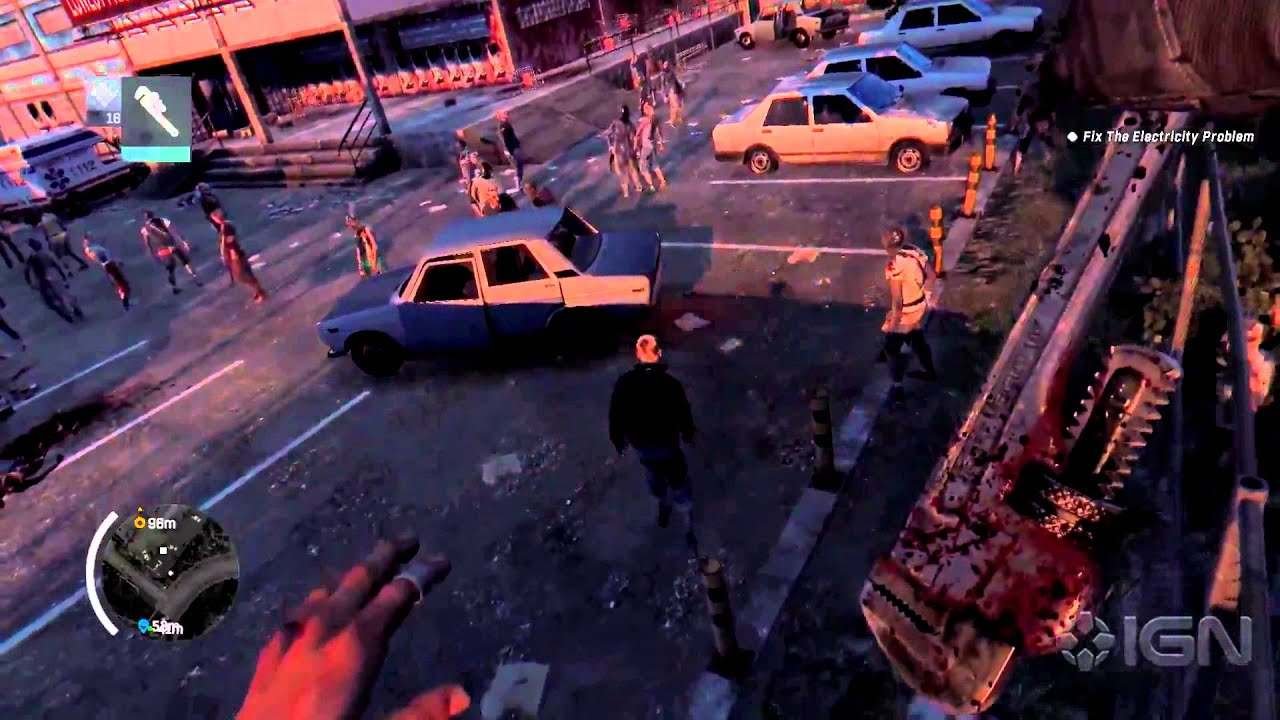
As far as survival horror games set in a post-apocalyptic world go, Dying Light is a solid title. The game provides users with a unique decision, to risk more for a greater reward. The game is a constant survival against zombies. However, these zombies are rather slow during the daytime, but conversely extremely aggressive in the nighttime.
In the latest news in the world of Dying Light, the game’s successor, Dying Light 2 is around the corner, and we couldn’t be more excited! The game is slated to be released on 7th December 2021. The game is set 20 years after the events of its predecessor, with a new protagonist. The game will feature a larger map and better parkour skills for the player.
How to Fix Dying Light Error 0xc000007b, Missing MSVCP140.dll and VCRUNTIME140.dll Error?
Are you facing any of the above-mentioned errors? You have come to the right place. Here are some fixes you can use in order to fix Dying Light Error 0xc000007b, Missing MSVCP140.dll and VCRUNTIME140.dll Error:
Fix 1:
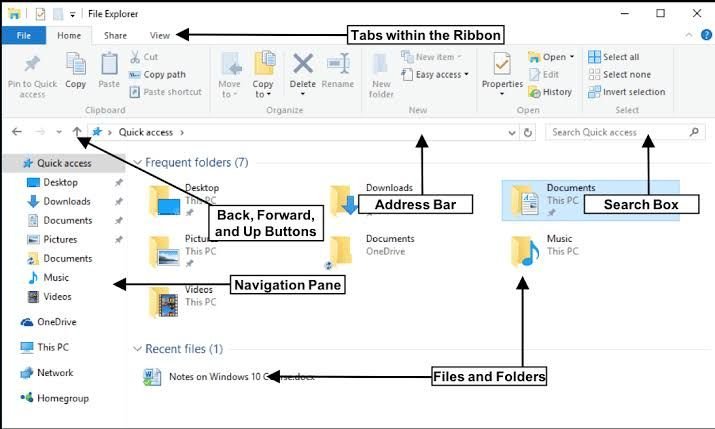
- Head to the following address
- :\Program Files (x86)\Steam\steamapps\common\Steamworks Shared\_CommonRedist\vcredist
- You can paste this path in the address bar of your File Explorer
- :\Program Files (x86)\Steam\steamapps\common\Steamworks Shared\_CommonRedist\vcredist
- Here select all the folders one by one(2010, 2012, 2013, and 2015)
- Run “vcredist_x64.exe” and “vcredist_x86.exe” as an administrator
- Restart you computer
Fix 2:
- Head to the following address:
- C:\Program Files (x86)\Steam\steamapps\common\Steamworks Shared\_CommonRedist\DirectX\Jun2010
- You can paste this path in the address bar of your File Explorer
- Locate DXSETUP.exe
- Run the application as an administrator
- Restart your computer
Fix 3:
- Head to the following address:
- steamlibrary/steamapps/common/DyingLight/Redist or
- C:\Program Files (x86)\Steam\steamapps\common\ DyingLight\Redist folder
- Repeat the steps in the first fix

Fix 4:
- Install Visual C++ Files
- You can find the link to the downloads here:
- Download both x86 and x64
- Repair/Install these setups
- Scroll down and locate Visual Studio 2013, and click on the first link
- Locate the vcredist_x64.exe, and select the language of your choice
- Download and repair/install these setups
- Repeat the step above for vcredist_x86.exe
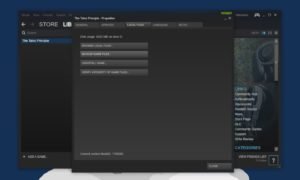
Fix 5:
- Verify your game files
- You can do this by heading over to Steam
- Here, locate Dying Light in your game Library
- In the list of games on the left side menu, locate Dying Light
- Right-click on it and select properties
- Here, head to the Local files tab
- Select Verify Integrity of game files
A big thanks to Youtuber DaisyWorld28 for the detailed guide of fixes
Read more about Dying Light here:
