The world is frantically running behind graphics cards. Since the release of the latest generation GeForce cards, demands have skyrocketed. For good reason too, as these cards are the best the industry has to offer. In this article, we are going to learn how to do a clean installation of GeForce RTX 3060 Ti Graphics Driver on Windows 10. Here is everything you need to know:

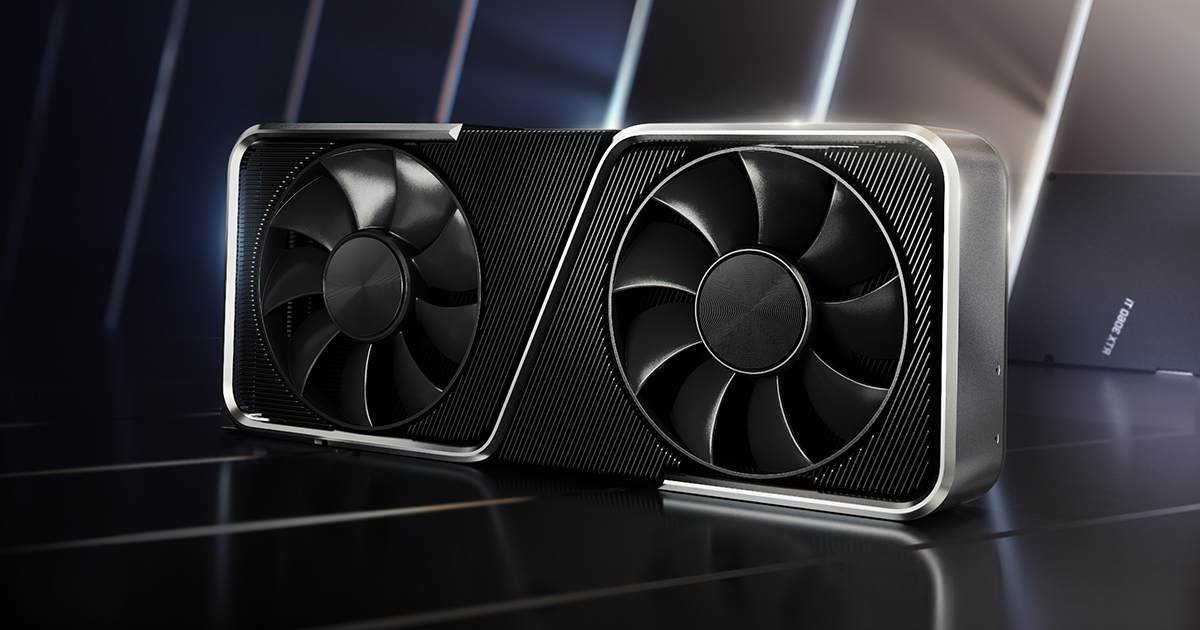
GeForce RTX 3060 Ti
If you want to have a great gaming experience, you need to invest in the system. PC is the most versatile platform when it comes to gaming, as most games are released here. After which, these games are released across gaming consoles. Speaking of investments, graphics cards don’t get better than the ones we are going to talk about now.
The card was released along with the rest of the GeForce RTX 30 series, which includes the 3070, 3080, their Ti versions, and 3090. These cards saw a considerable upgrade from their predecessors and resulted in being sold out immediately. The cards brought with them a lot of features, including 8K HDR Gaming support.
How To Do A Clean Installation Of GeForce RTX 3060 Ti Graphics Driver On Windows 10?
Keeping your graphics driver updated is a vital part of your system’s upkeep. In fact, updates are very important for everything electronic. Here are some steps you can follow in order to do a clean installation of GeForce RTX 3060 Ti Graphics Driver on Windows 10:

- Do a clean installation of graphics driver
- Head to your graphics driver’s website and download the required drivers
- You can find the drivers for GeForce RTX 3060 Ti here: GeForce Game Ready Driver
- Download and run the installer
- Here, choose Custom(Advanced) installation
- Follow this by selecting the “Perform a clean installation” option, and begin the installation
A big thanks to Youtuber DaisyWorld28 for providing us with a detailed guide of the fix.
Read more about GeForce RTX Graphics Cards here:
