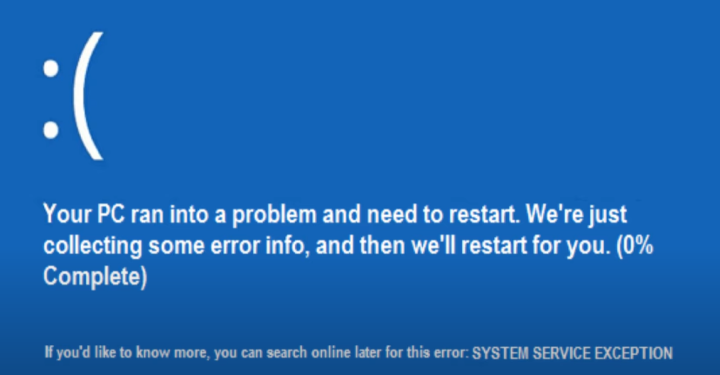
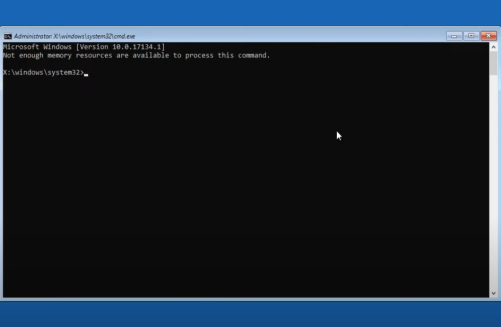
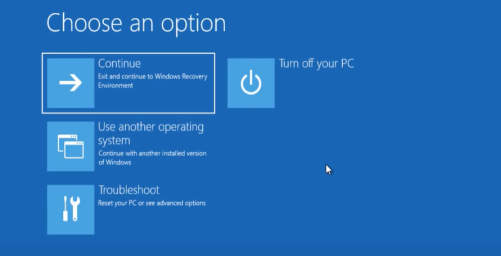
A lot of you might be facing this very common Windows error which has brought you to this article. What you see in the image above is something you might often end up looking at on your PC screen. There are two simple methods to sort this problem out. Follow the instructions below to solve this issue.
METHOD 1
Step 1-
Start your PC and go to Automatic Repair options.
Step 2-
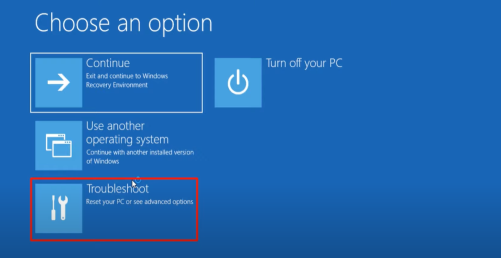
Click on Troubleshoot.
Step 3-
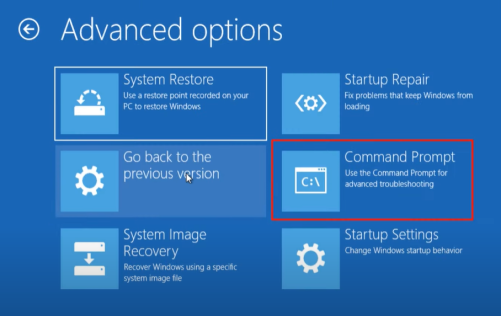
Click on Advanced Options.
Step 4-
Click on Command Prompt to restart your PC.
Step 5-
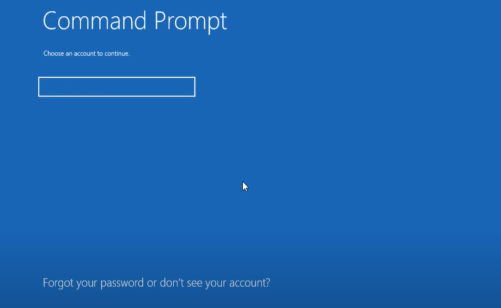
Enter your log-in details after restarting. Click Next straight away if you hadn’t set-up a security lock.
Step 6-
See the image below. After logging in to your PC, you will find a tab like that open.
Type the below code and press Enter.
Step 7-
Wait till the files are repaired. This will take some time. Type Exit to exit the command and return the to the options page.
Step 8-
Click Continue and check whether your problem is solved.
You will most likely find the issue to have been resolved. However, if the problem persists, get to the Windows Repair options again and follow the steps below.
Step 1-
Click on Troubleshoot > Advanced Options just like you did before.
Step 2-
Click on the System Restore option.
Step 3-
Add your log-in details once again and proceed.
Step 4-
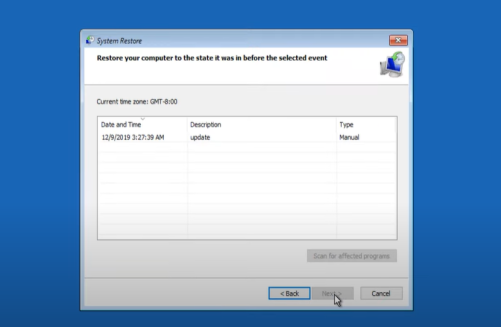
A System Restore tab will be opened. Click Next.
Step 5-
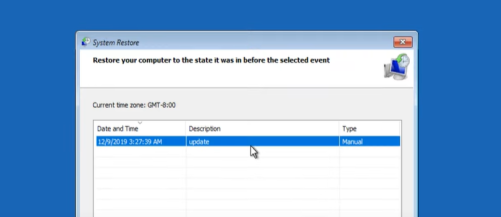
Select the restore point and click Next (refer images).
Step 6-
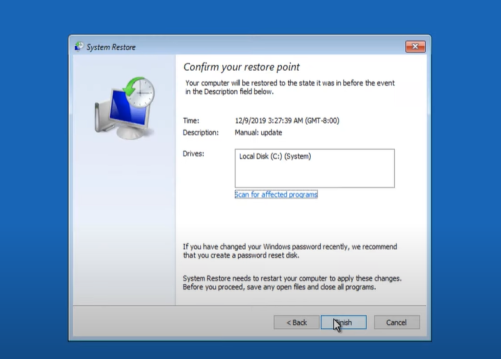
Confirm the restore point and click on Finish.
Step 7-
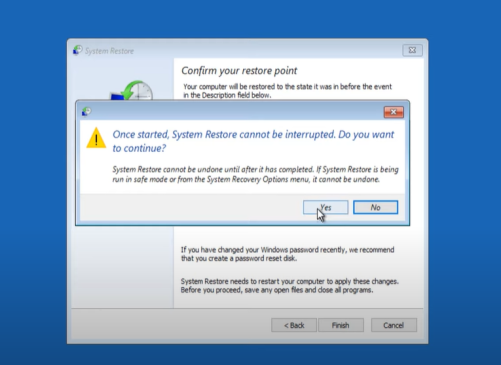
Then, click Yes. Ensure you don’t interrupt the process.
Step 8-
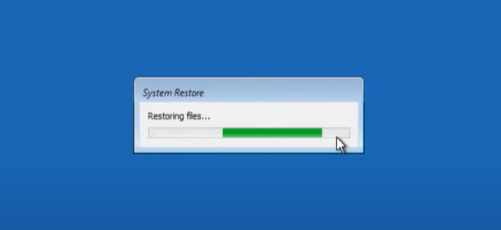
This process will take some time. Your PC will restart automatically once done.
If the issue is not solved yet, then move on to the second method.
METHOD 2
Step 1-
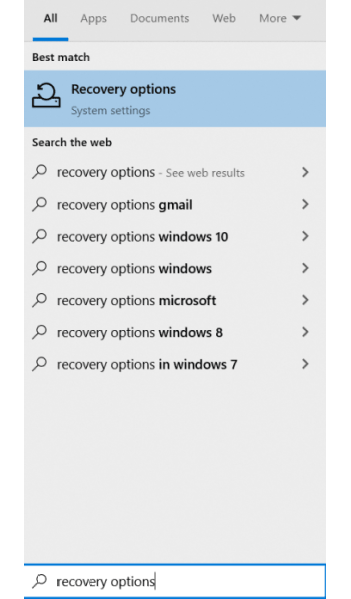
Type and open Recovery Options from the Start menu.
Step 2-
Click and open Troubleshoot > Advanced Options > Command Prompt > Log-in just the way you did earlier.
Step 3-
Type the following code and press Enter-
Step 4-
Wait for the process to complete. Then, type exit to return to the options.
Step 5-
Click on Continue.
Step 6-
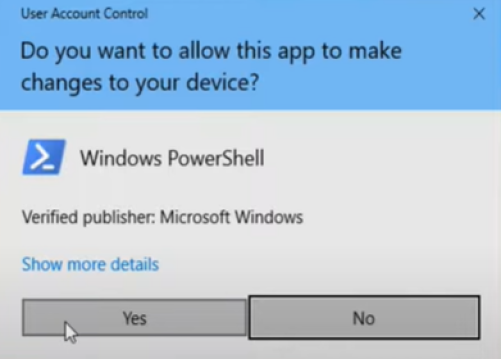
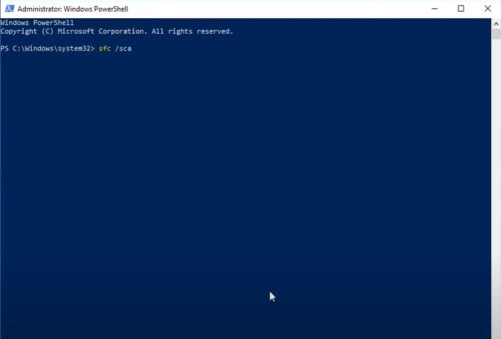
Once your system restarts, type and open Windows PowerShell from the Start menu.
Step 7-
Click Yes to allow changes.
Step 8-
Type the given code and press Enter.
Step 9-
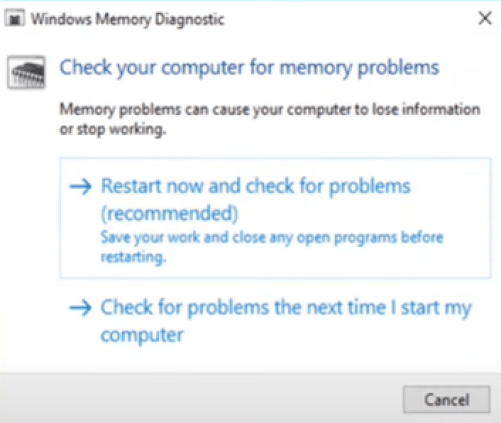
When the process is complete, type and open Windows Memory Diagnostic from the Start menu.
Step 10-
Click on Restart now and check for problems.
Restart your PC and with that, your Windows error would be sorted out. Reach out to us if you face any trouble following the instructions!
We post related content and exciting updates every day, so stay tuned! Also, share this article with all those who might find this news helpful!
