Cyberpunk 2077’s latest expansion, Phantom Liberty, has been receiving praise out and wide. So much has been improved and added that it’s arguably one of the best video game expansions in a while. However, there have been some bugs and errors with the release of the new expansion pack in Cyberpunk 2077 that need to be addressed immediately. And we will help you deal with one of those bugs. The distorted relic bug/glitch to be exact.
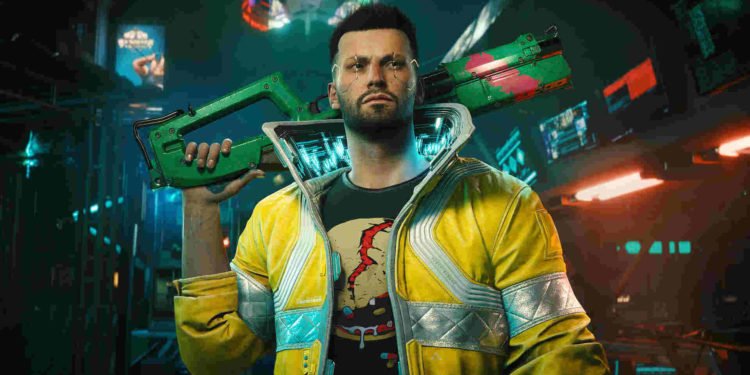
There’s some good news. CDPR is aware of this issue and has already communicated a temporary fix along with a permanent fix promise. For those unaware, this is a bug where, after talking to Johny at the end of the Automatic Love quest, he gets the distorted relic effect permanently. It’s an annoying bug, as it gets tiring after continuously looking at those glitch visuals. And so, here are some workarounds to help you deal with that.

Cyberpunk 2077 (2.0) Relic Malfunction or Distorted Relic Glitch: Is there any fix yet
Make sure to try the following workarounds. While the developers are working to release a fix, these are your best shots at fixing the issue.
Reload a previous save –
It’s because of frustrating issues like this that we always recommend making a hard save frequently and before any important events. Now, if you’ve got a save from before the bug showed up, we suggest you load that one. If that doesn’t work or you simply don’t have a save like that, check out the next method.
Choose a different dialogue option –
Players have suggested not selecting the “F**ked in the head worse than me” dialogue option during your elevator ride with Johnny. Instead, opt for any other dialogue, except for that one. However, if you’ve already done that, then load a save from before the bug and do as stated. This is also the official fix provided by CDPR for now.
Download the FX Begone mod –
As per the player’s suggestion, the FX Begone mod is the best when it comes to fixing this issue. This mod removes various visual effects, including the Relic glitch. You can get this mod from NexusMods. As for installing, you can either use Nexus’s own Vortex Mod Manager or the good old drag-and-drop method. If going with the latter option, here’s the mod installation path:
- Steam – C:\Games\Steam\steamapps\common\Cyberpunk 2077\<mod here>
- GOG – C:\Games\Cyberpunk 2077\<mod here>
Once you have successfully installed the mod, launch the game and load the bugged save. Perform another hard save, and then exit the game. At this point, you can either remove the mod or continue on with it. Although some recommend deleting the mod. Now, when you load the save again, the glitch will no longer exist.
Repair files –
Try this once at least. What it does is essentially check for any missing or corrupted files and then fix those files accordingly. Just go to Steam and then head to the library. Right-click on Cyberpunk 2077 and select Properties > Local Files > Verify integrity of game files. To do this on GOG, open the GOG Galaxy client, and head to Library. Now, select the game, and click on More. Next, click Manage…, and then Verify/Repair. You should restart your PC after the process is complete and then start the game. Now, check if the issue persists.
Well, that’s all the workarounds we have on this issue. For players facing other issues, like an error caused by missing or corrupted script files, head over to read this guide. And as always, keep following DigiStatement. Also, read: Cyberpunk 2077 Not Launching via Steam: Is there any fix yet?

