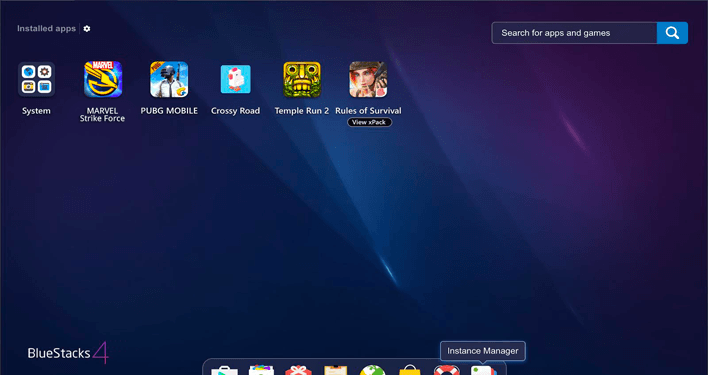
BlueStacks has recently crossed 1 billion downloads, which is a huge milestone in itself, and has become the largest Android gaming platform right now, for PCs. And a few days ago, BlueStacks 5 (Beta) got unveiled which promised the users, 40 percent reduction in the RAM usage. The all-new BlueStacks 5 (Beta) which supports ARM devices offers an even faster boot, launch, and install times, and the company, recently, also stated that the gamers will also have a better gameplay experience which they can look at forward to. The BlueStacks app player evolved to become one of the top gaming platforms for computer systems, all around the world internationally.
But the users are facing an error, i.e. Newtonsoft.Json.dll, now let’s see how to overcome this issue through some simple methods.
Newtonsoft.Json.dll Error
The error message, regarding the Newtonsoft.Json.dll, is a kind of a Dynamic Link Library (DLL) file. Now such Dynamic Link Library (DLL) files are there to store information and instruction for the executable (EXE) files to follow. These files were specially created for the programs, such as BlueStacks App Player, which could share this Newtonsoft.Json.dll file, which is a huge help in saving valuable memory allocation, therefore making your computer more efficient and smooth.
So this error occurs because your Newtonsoft.Json.dll file may be missing due to an involuntary deletion, or it got corrupted from a power outage when opening BlueStacks, or it may be experienced a system crash when loading the Newtonsoft.Json.dll.
How to fix it?
Method 1: Restore your PC to the latest restore point:
- Press on the Windows Start button.
- Now you will notice a search box, now type ‘System Restore’ there and then press ‘Enter’.
- In the displayed search result, find System Restore in the list and click on it.
- You will have to enter the administrator password if it’s applicable.
- After that, just follow the steps in the System Restore Wizard for choosing a relevant restore point.
- At last, restore your computer to that backup image.
Method 2: Re-installing BlueStacks
- Go to the Windows Start button.
- Type ‘Uninstall’ in the search box and then click on search.
- Click on ‘Add or Remove Programs’ after finding it in the search results.
- Then you need to find the entry for BlueStacks App Player and then select ‘Uninstall’.
- At last, follow the steps for uninstallation.
- Now once it’s uninstalled, reboot your system and then again re-install the BlueStacks App Player.
Method 3: Perform Windows Update
- Click on the Windows Sart icon.
- Again in the search tab, type ‘Update’ and then press ‘Enter’ on the keyboard.
- Click on ‘Check for Updates’ (or something similar to that depending on your version of the Windows) in the search results.
- Then click on ‘Install Updates’, if there are any available to download.
- In the end, reboot your PC after the update is completed.

