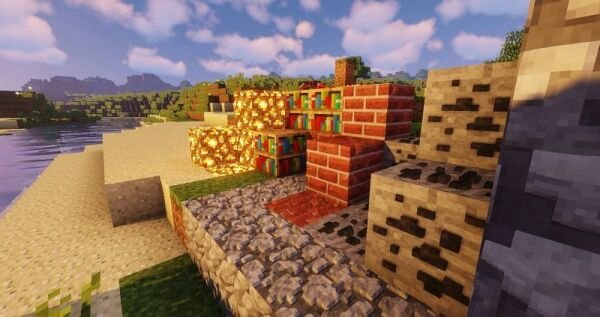
Minecraft is one of the most popular games out there in the markets. It is appreciated for its fine blocky, procedurally-generated 3D world. It has infinite terrain where can discover and extract raw materials, craft tools, and items, and build structures. There are people who like the game the way it is and there are others who think Shaders add a new life to the game. There are many amazing Minecraft shaders available on the internet. Here is everything you need to learn about how to download & Install shaders on Minecraft PC (1.16.5).
How To Download & Install Shaders on Minecraft PC (1.16.5)
Follow these easy steps to download and install one:
Step 1: Downloading a Shader
There are tons of Minecraft shaders available for PC. Download any one of your choices, but if you are not able to find a good one, click here.
If you have a low-end PC then clearly the bigger shaders won’t work smoothly on your PC. To download low-end shaders for Minecraft, click here.
Step 2: Running Minecraft
After you have finished downloading your desired shader you have to then install it. For installing a shader for 1.16.5, make sure you have an open Minecraft profile for 1.16.5. If you haven’t, then you have to update it first. If you have, then let’s move on to the installing part.
Step 3: Installing Optifine
To run your shader smoothly you’ll need a Minecraft optimization mod. You can download the latest version of Optfine here. It allows you to run your Minecraft game faster and look better with fully-fledged support for HD textures and many other configuration options.
After you have finished downloading the optimizer, you will receive a .jar file. The next step is to run this file, after you do it, a launcher will appear. The launcher will install Optfine to the Minecraft folder as per default. Finally, you can click Install on the launcher.
Step 4: Running Optifine Profile
After installing Optfine or your preferred optimizers, there will be a profile for it in the Minecraftlauncher. You can then run this profile just to make sure the installation was done correctly.
Step 5: Installing the Shaders
Remember the Shaders you just downloaded? Now you have to place it in the “shaderpacks folder.”
You can do this by the following methods:
- Click on the Windows search bar and open the Run App.
- In the Run app, you have to type %appdata% and then click OK. After that, you’ll find the .minecraft folder.
- In the .minecraft folder, you have to open the “shaderpacks” folder and place the newly downloaded shaderpack in that folder.
- You can then run Minecraft (Optifine Profile).
After running Minecraft, you have to click on the Video Settings button and then the Shaders button. You will be able to activate your sharepack from the shaders menu.
After you exit the shaders menu, your Minecraft shader will begin to load.
That’s all. With this method, you can download and enjoy any of your favorite shaders and make your Minecraft world more beautiful.
