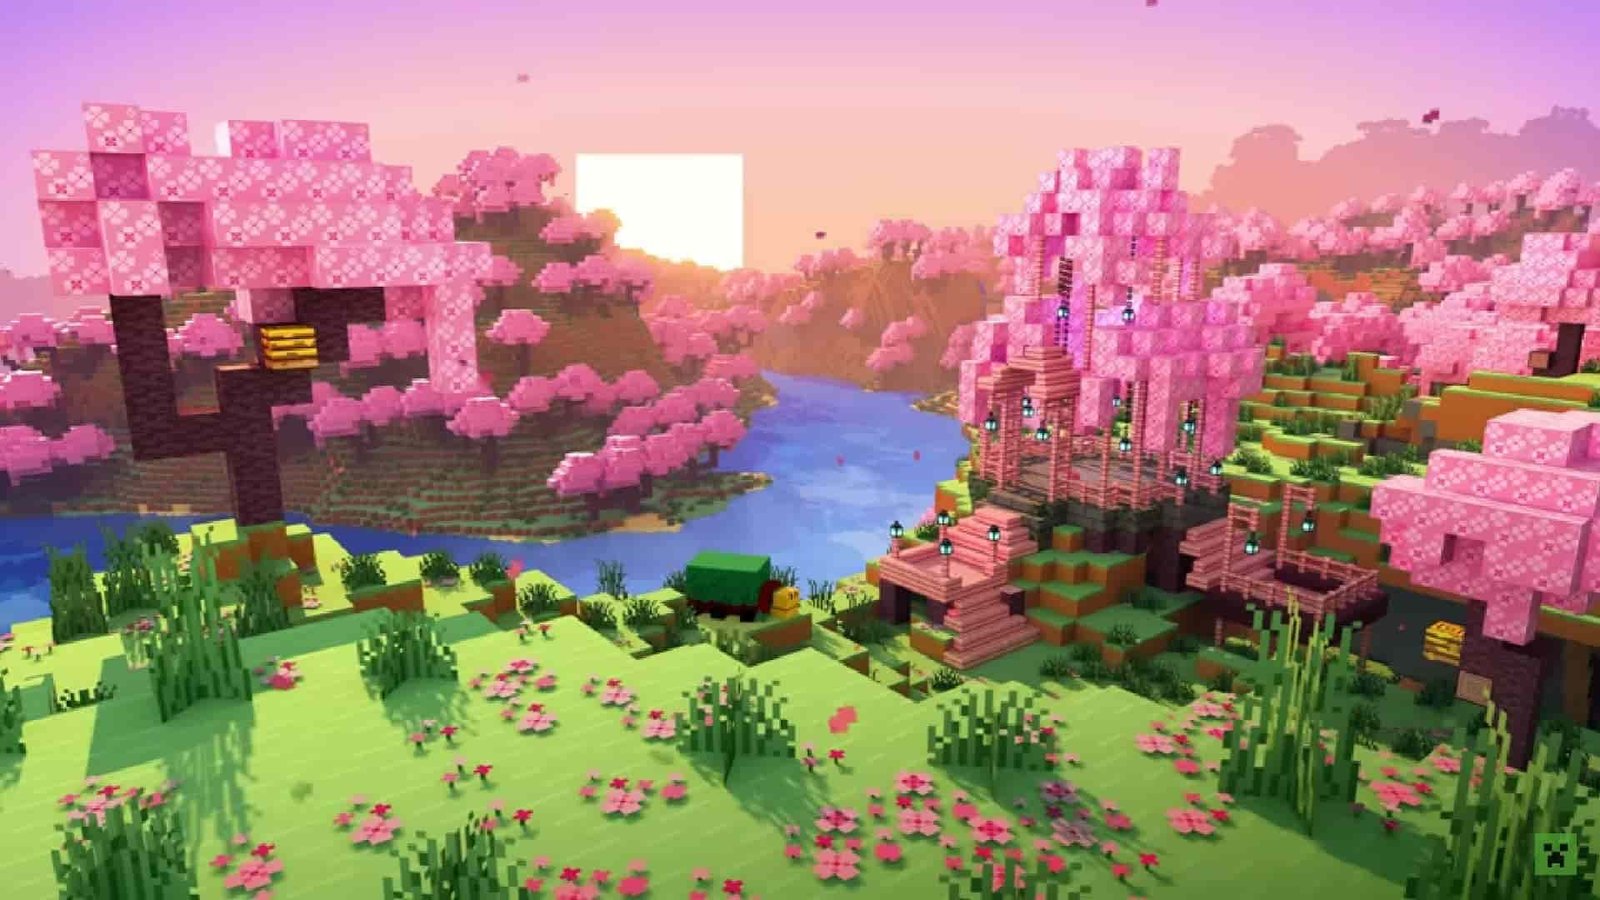
Gamers of the current era are blessed with fantastic visuals that get them immersed in the game’s world. Visuals play a crucial role in delivering a near-perfect experience to gamers during their gameplay. A lot of game developers have this as one of their core objectives: to take the visuals of their games to the next level. Now, it cannot be said that the base game reaches its fans at its maximum potential. There might be areas, especially with its visuals, that can be upgraded through some script manipulations. This is where the concept of shaders comes into play. Shaders have enhanced the visuals, immersion, and realism of a lot of games. Minecraft belongs to that list of popular games that can be upgraded by using shaders. Installing the latest shaders in Minecraft 1.20 is what all hardcore Minecraft players are looking for right now.
Minecraft 1.20 has introduced a ton of features, along with a couple of mobs and an entirely new biome in the game. The new biome, in particular, has already won the hearts of a lot of fans. This beautiful addition can be upgraded even further with the help of the right shaders. But a lot of players do not have the appropriate knowledge to install shaders in Minecraft. If you belong to that group, worry not! Read along and find out how to enhance your gaming experience using shaders in Minecraft 1.20.
Also Read: Minecraft 1.20 Update: How to Find a Sniffer Egg?
Minecraft 1.20 (PC) Shaders: How to Download & Install?
As we all know, the fan community of Minecraft is pretty large, and there are a lot of creative players who have released their very own shaders for the game. Most of them are stunning and worth looking into. Now you can install such shaders for Minecraft by following the steps below:
1) Before installing shaders, you must know the names of the popular shader packs available for Minecraft. There are a lot of shader packs to choose from, and it is all up to you to choose your very own shader pack. If you want a list comprising the top 10 shaders for Minecraft 1.20, consider reading our guide for details on the same.
2) Anyway, for installing shaders, Curseforge is one of the most popular websites online that you can visit. It offers a ton of archives containing various mods and shaders for Minecraft. Thus, visit the official website of Curseforge and search for the desired shader pack’s name. After finding the desired one, download it.
3) The next step for you is to download something called OptiFine, which is a Minecraft optimization mod that is required to run shaders. There are mod managers for mods and OptiFine for Shaders. You can download OptiFine from its official website. So, make sure to download the latest version. Here’s a detailed guide on the same.
4) After downloading OptiFine, click on the OptiFine Installer from your downloads and select the Install option (you need to have Java 17 installed on your system). However, before doing so, make sure to have played the base version of Minecraft 1.20 at least once.
5) After this, open the Minecraft Launcher. You will now see OptiFine being selected in the launcher’s version. If it is not auto-selected, go to the Installation tab in the launcher screen and make sure the Modded option is checked under the Versions menu. Now, proceed to enter the game.
6) When you are on the title screen of Minecraft, go to Options and choose Video Settings. Under Video Settings, click on Shaders, and a new screen will open. Take a look at the bottom of the screen, and you will notice that there is a Shaders Folder option on the left side. Click on it, and you will be directed to shaders folder of the game.
7) Copy-paste the downloaded shaders from the downloads section of your system to this Shaders folder and close the window. You will re-enter the same screen in-game. The shader files that were moved from the downloads section will appear on the screen. Choose your desired shader pack and click Done.
8) The shaders will then be loaded, and you will be able to start any of your Minecraft worlds with the particular shader pack enabled. Well, your Minecraft world with your desired shader has been applied. You will be able to switch between shaders in-game by clicking on the Video settings options from the pause menu.
So, this is how you can download and install shaders in Minecraft 1.20. We hope you have found this guide helpful. For more reads like this, make sure to follow DigiStatement.


