A spawn location in a Roblox game is the point where your character will respawn after death. It is easily identified with the help of the spawn symbol. Respawning allows you to rejoin the game after your character loses its life. Therefore, it’s necessary to add a respawn point in the game. In this article, we will discuss adding spawn locations in a game.
How to add a spawn point in Roblox Studio?
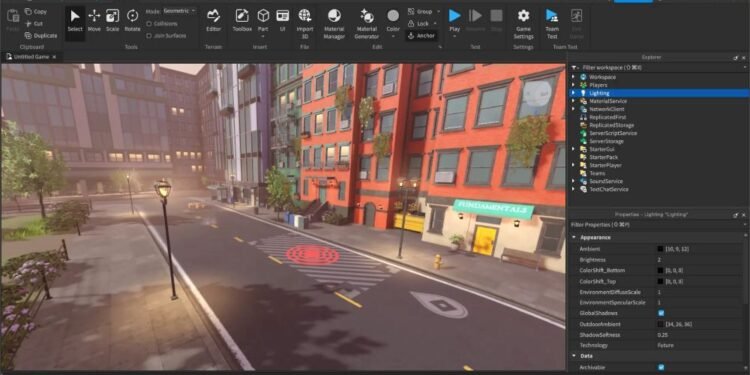
First, open Roblox Studio on your system. To add a spawn point, go to the Model” or Home tab in the top toolbar and select SpawnLocation from the Parts dropdown or Insert Object menu. This would effectively add a spawn location on your map. In case you don’t see it right away, try zooming in and out to spot the spawn location on the map. You can also click on the ‘Spawn location’ option on the right-hand side pane titled ‘explorer’ and then press ‘F’.
From the same explorer pane, you can also change the appearance of the spawn symbol. From the properties panel at the bottom, you can change the color, adjust the shadow, etc.
If you want to make the location invisible, you can set the transparency to 1 and decal transparency to 1.
To remove the decal, click on ‘Spawn location’ from the ‘explorer’ pane. Then right-click on the ‘decal’ option and select delete.
The spawn location can be further customized for color, appearance, size, etc., through the ‘properties’ pane below ‘explorer’.
You can find the ‘CanCollide’ option from the properties pane and turn it off if you wish that players do not run into the spawn location while playing.
So, this was all about adding a spawn location in a Roblox game and how to customize it. Various options to customize the dedicated tile are also available and can be explored according to choice. For more such guides and other related information to the gaming community, visit Digistatement.


