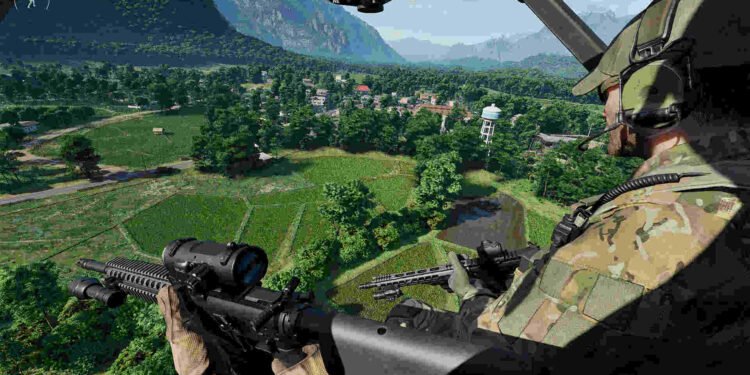
Gray Zone Warfare happens to be the latest addition to the mil-sim genre. Developed and published by Madfinger Games, it was just recently released as an early access title on April 30, 2024. Unfortunately, the reception for it hasn’t been that great due to the number of technical issues it’s suffering from. The Voice Chat/Mic Not Working issue is a major one and this guide will help you deal with it if you are encountering the same.
We can’t really say what the main cause is here. Anything from missing game files to your audio device not being set as default could be the cause. Regardless of what the main cause is, this issue needs to be fixed ASAP. So, go ahead and try the workarounds that can be of use against this issue.
Gray Zone Warfare Voice chat/Mic Not Working Issue: Is there any fix yet
The following workarounds will help you resolve this issue. Try each one and see which ones are of help to you.
Restart –
Well, the very first thing we recommend that you do is restart the game. That’s what some people suggested to deal with this issue, so start with this. Additionally, you can also restart your PC and see if that helps. In case the restart method doesn’t work, you can switch to another workaround.
Disable all sound inputs except the one you are using –
If you happen to have multiple devices for audio, disable all except for the one you are using, as suggested here. You can do this by opening Windows Settings and heading to System > Sound. Scroll down and click on More Sound Settings. When the Sound window opens, switch to Recording. Now disable the devices which are not in use by right-clicking on them and selecting Disable. When you are done, click on Apply and OK.
Verify files –
This issue can also be the result of GZW having corrupted or missing files. This can be resolved by verifying and repairing the game’s files. To do that, you will need to launch Steam, head to Steam Library, and right-click on GZW. Next, select Properties > Installed Files > Verify integrity of game files.
Check if your audio device is set to default –
Your voice chat might not be working due to your microphone not being set as the default. As such, it’s suggested you check if that’s the case or not. Just follow the previous step’s process until you are in the Sound window. Then switch to Recording and right-click on your microphone in use. If it isn’t set as Default, right-click on it and then select Set as Default Device. End the process by clicking on Apply and OK.
Enable VoIP in-game –
If you have disabled voice chat within the game’s settings, then it is obvious that you will not be able to chat with others. To make sure that’s not the case, go to the game’s Settings menu, and in the Game tab, scroll down to find the Audio section. Here, find the Enable Proximity VoIP and Enable Squad VoIP options and make sure they are set as On.
Make sure that you haven’t changed keybinds –
A simple reason behind this issue could be that you have changed the default keybinding for voice chat in the game. The default push-for-talk key is Z, so press that and see if you are able to talk. You can also head over to the in-game settings, switch to the Control tab, and check the keybinds in there.
Change sound settings in Steam –
One player got around this issue by changing the sound settings in Steam. As explained here, what you need to do is launch Steam and then head to Settings. Next, scroll down all the way to Voice and select the active mic from the drop-down menu located next to Voice Input Device. Next, scroll down and select Push-To-Talk as Voice Transmission Type. Right below, you will see the Push-to-talk hotkey assigned as an option. Press any key you would like to use for Push-to-Talk or just use the Z key, as it’s also the default in Gray Zone Warfare.
Reinstall –
By chance, if none of the aforementioned workarounds are of any help, then we recommend that you try the reinstall method. Reinstalling the game can be of great help at times when other workarounds simply don’t work. Just uninstall GZW from your PC, delete any files related to it, and start a new download. Once the download is done and the installation is complete, launch the game and hopefully, you won’t be bothered by this issue anymore.
Well, that’s the extent of our knowledge on this issue. You can also take a quick look here if you want to know how to disable Anti-Aliasing in the game. Lastly, keep following DigiStatement for more such interesting guides. Also read: Gray Zone Warfare DLC Not Working Issue: Is there any fix yet


