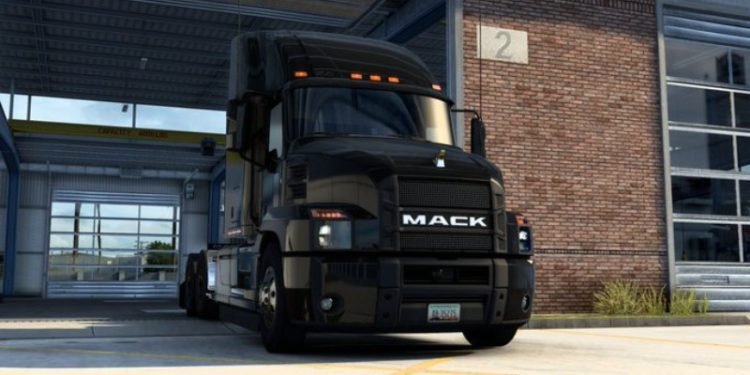
Simulator games are very popular as it does not have any hardcore actions and also does not require insane reflexes. Euro Truck Simulator 2 is a vehicle simulation game. Today, we will be discussing the game and the steps to install mods.
The steps for installing any mod for the game are very easy. You can get the mods from any website of your choice. The only thing that you have to keep in mind is that the game version should match with the version specified with the mod. Some mods might work with different game versions. Just check that before downloading.
Installation steps for Euro Truck Simulator 2 mods
Once you have downloaded the mod, use 7zip or WinRAR to extract the zipped files. Inside the mod folder, you will get the mod files with the ‘.scs’ extension. Copy that file and go to the Documents directory on your PC. Then, open the Euro Truck Simulator 2 folder. Create a folder named mod. Paste the mod files in this folder.
After the mod is in the right place, follow the steps mentioned below.
- Launch the game on your PC.
- On the main screen, click on Profiles from the bottom menu list.
- On the left side, you can locate an option as Mod Manager.
- Click on it to open the mods window.
- You should see the new mod that you had pasted just now.
- Double-click on the mod to activate that particular mod.
In the future, if you want to use any new mods, then the process becomes easier. You have to get the mod and simply paste it into the mod folder that you had created earlier. Now, you can play the game.
You have to keep one thing in mind. You can only apply mods related to the truck dealers that you have discovered in the game. Suppose you have unlocked the truck dealers of companies like Mercedes Benz and Volvo only. In that case, you cannot apply mods for companies like Scania.

