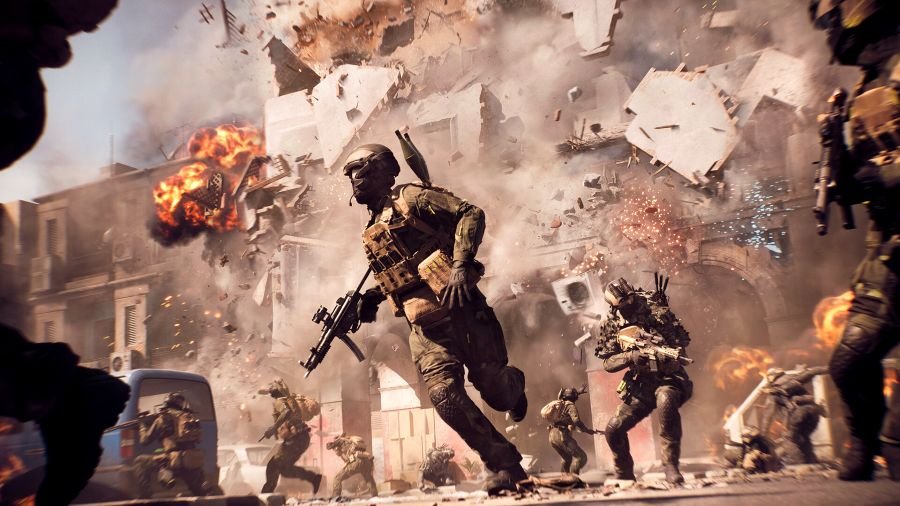
Battlefield 6 is in beta mode as of now, but the gameplay and graphics look promising. To make the experience smoother, players are looking for ways to increase the frame rate and reduce the latency. While the lag cannot be directly modified to a large extent, you can configure the FPS to suit your needs. Some third-party configurations can help users modify the game files and change the settings more than what’s normally included in the game. We have listed a similar option for users to configure their FPS settings. Since the game is still in beta, this might need an update or additional files to apply the settings once the game is fully released. Till then, following these steps can significantly improve your gameplay.

Best Battlefield 6 settings for high FPS and low latency
- Open the system tab from settings. Click on the ‘For developers’ option and select the PowerShell option. Toggle it on in order to run PowerShell scripts.
- Open the Start menu and search for PowerShell. Right-click on it and select the option to run as administrator.
- Next, search for ‘fr33thy GitHub’ on your browser and open the site. Click on GitHub game configs, then scroll down to find IWR. Copy the given code and paste it into your PowerShell window, and press Enter.
- After a list loads, press 2 and press Enter. Then press 1 and press Enter again. The setup will likely begin with an installation and prompt you for the location. The location should be the same as the Battlefield 6 event folder. Close the PowerShell window after the configs are applied.
- To check the imported files, go to the ‘documents’ folder on your system and open ‘Battlefield 6 open beta’. Open the settings folder, and you can see what configs got imported. You can also check the file named user.cfg in the Battlefield 6 event folder for the changes.
- Launch the game and open the settings tab. Select graphics and in the display section, adjust the settings for full-screen mode, resolution, aspect ratio, etc., and click on ‘apply’.
- Under the graphics section, select to modify the advanced option. From there, toggle the ‘reflex low latency’ option to ‘enabled’.
- There are several other options available in the same panel, including dynamic resolution scale and upscaling techniques. These can offer a clearer video at a lower resolution. The upscaling technique will depend on the type of CPU and graphics card.
- The future frame rendering option, when enabled, gives an additional 100-200 frames, thus increasing the frame rate. However, this also increases the input lag, so you will have to check what works best for you.
That will be all from Digistatement for now. You can check this YouTube video if you have any doubts. For further queries or other configuration guides, visit us.
