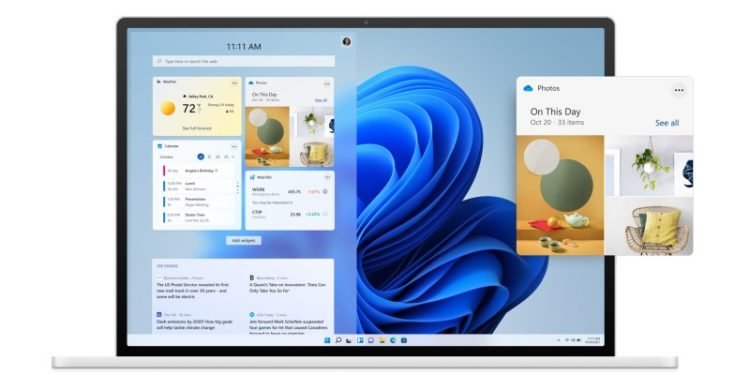
Microsoft has recently launched the Windows 11 OS. With tons of new visuals and personalized widgets and settings, it is exciting to use. However, the burning question that gamers will have is whether the OS is suitable for gaming. The following tips will help you to properly optimize Windows 11 for gaming.
Download the Optimization pack from the link. – Download link
After you have downloaded the zipped folder, you will need WinRAR or 7zip to extract the files. For your convenience, extract the files in the same location as the download directory or on the desktop. Once you are done with the extraction, follow the steps mentioned below.
Optimization Settings
- Create a Restore point
-
- Go into the extracted folder.
- Open the first folder named 1=START.
- Then open file 1 Create a restore point
- Under the System Protection tab, select the C drive and click on Configure.
- Enable System protection from the Restore settings header and keep disk space usage around 9 GB.
- Clicking on OK will send you back to the previous window.
- Now, click on create and type in a name for your restart point, e.g. Windows 11.
- Then, click on create and wait for the process to end. The window should close automatically.
- Uninstall unwanted apps
-
- In the 1=START folder, open the second file named 2 Uninstall Apps You Don’t Need.
- This will take you to the Apps and features in the windows settings.
- From the list of apps, you can easily remove unused apps from the system.
- Disable Startup apps
-
- Click on the third file in the 1=START folder.
- This will open the Startup window in the task manager.
- Disable the apps that unnecessarily start during system boot.
- Disable User Account Controls
-
- Open the file named 5 Disable UAC.
- Click on yes in the first two Windows that appear. Then, click on OK.
- Click on restart later from the restart PC prompt.
- Windows Registry
-
- Go in the folder 2= Registry & BCD
- Now, open BCD latency tweaks.
- A command window will appear. Just press any key to close it.
- Then, open the Registry tweaks file.
- Now, click on yes for registry editor permission. Again click on yes on the next window. Finally, click on OK.
- In the 5th folder, you will get a setup file for installing QuickCPU. This application will let you tweak the settings of the processor itself. You can launch the software and set the CPU performance to high.
These are the optimum settings for the best possible gaming experience. You can check out the additional tips to optimize Windows 11 from this YouTube video.

