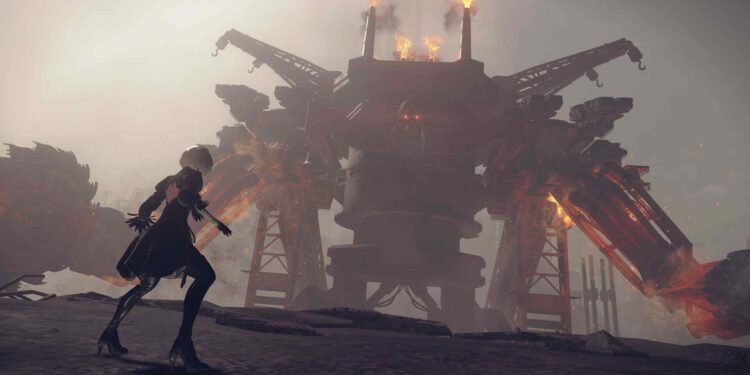
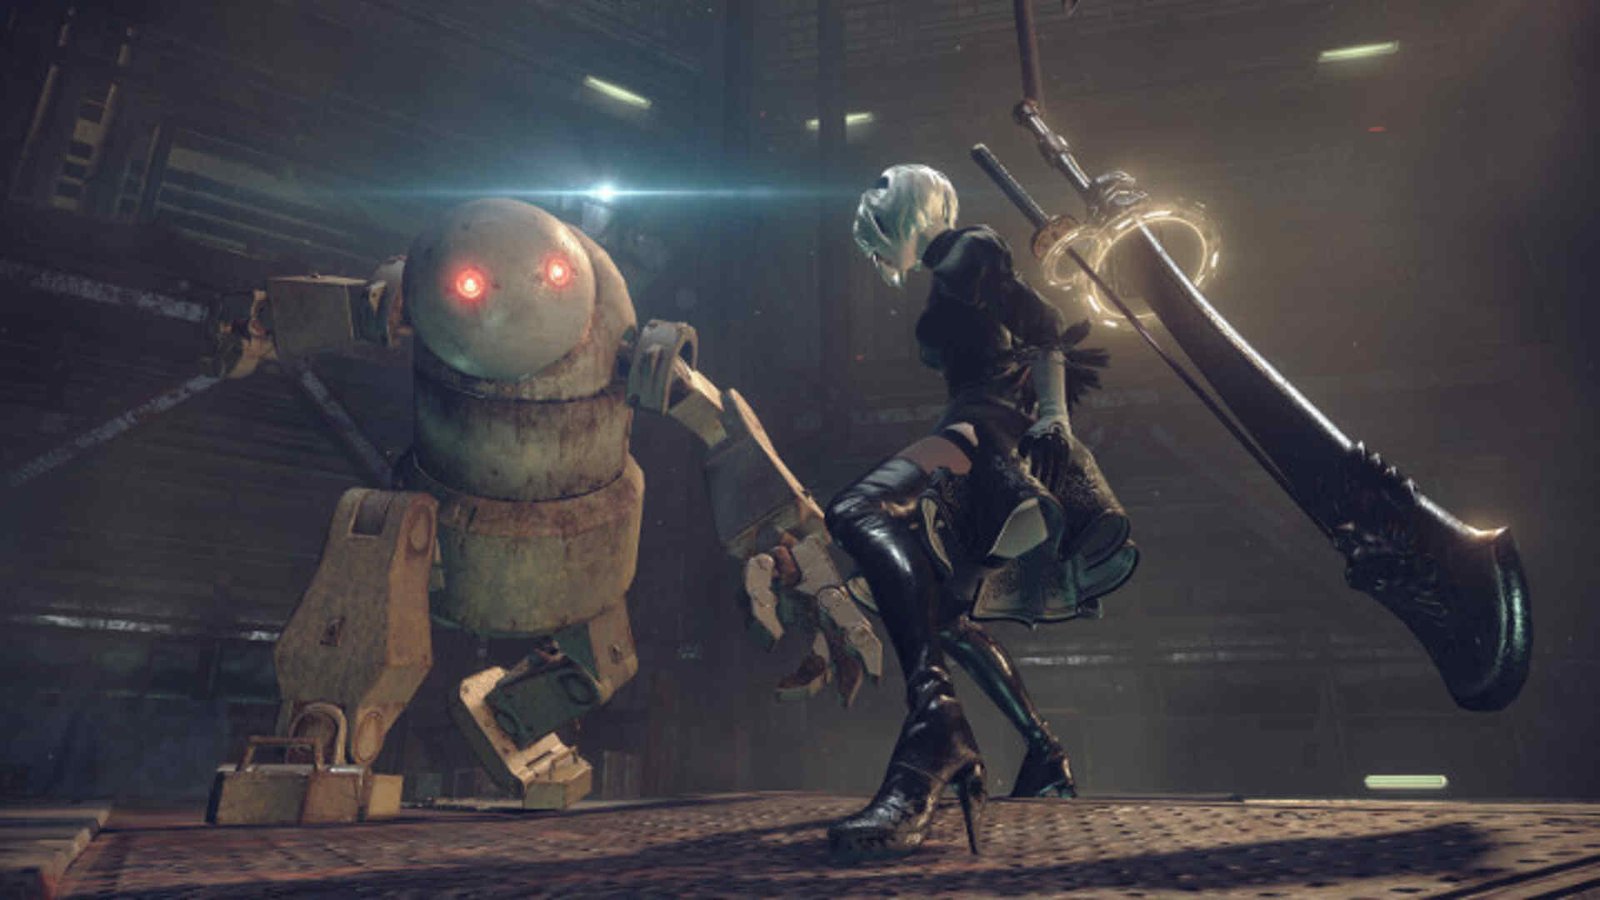
The 2010s saw the release of a plethora of masterpieces and Nier: Automata was one of them. Developed by PlatinumGames with Yoko Taro as the director, Nier: Automata was released back in February of 2017 to immense praise and appreciation for its story and characters. It immediately shot the Nier series to overnight popularity, which before the release of Automata had only seen middling success. Nier: Automata was originally launched for PS4, but later became available on PC, Xbox One, and most recently on the Nintendo Switch. However, a lot of fans are already enjoying the game on the Steam Deck. But something a lot of Deck players want to know is how to play it with mods.
The Steam Deck has truly revolutionized PC handheld gaming. Thanks to the affordable cost of the device and Valve’s amazing support, it’s now a major player in the PC handheld market. And now users can enjoy titles like Elden Ring, Cyberpunk 2077, Baldur’s Gate 3, and more on the go. Nier: Automata is one such game too. However, unlike the previously mentioned games, it’s yet to be Verified for the Deck. And despite that, the game runs amazingly well on it. While the vanilla game is fun by itself, many also want to enjoy a modded Nier: Automata playthrough. So, let’s go ahead and find out how you can install mods for the Steam Deck version of Nier: Automata.
How to install mods for Nier Automata Steam Deck version?
This one is going to be a long and complicated process, so follow everything carefully.
- Well, you need to have Nier: Automata installed on your Deck for this, of course! If you happen to have just downloaded it, make sure to open it at least once.
- Next, you will need to download the 2017 version of Nier: Automata. This is because FAR is only compatible with the old version of the game. You can use either the Steam Depot Downloader or Steam Dev Console for that.
- Now you need to create a new app link to Steam. And for that, first switch to Desktop Mode, right-click on the screen, and select Create new > Link to application. After that, switch the %U with -console in the arguments. Copy information from the Steam shortcut already on the desktop too. Also, make sure that Owner is set to Can View & Modify under the Permission tab and that the ls executable option is also checkmarked. Next, close Steam and launch it from the new shortcut.
- It’s time to download some files. Specifically, the 2017 version of Nier: Automata. Open console and copy-paste this command: “download_depot 524220 524221 6804539827574949545“.
- After the download is over, head to this location: “/home/deck/.local/share/Steam/ubuntu12_32/steamapps/content/app_524220/depot_524221/”. Copy the following folders from the inside and paste them to another new folder as a backup of sorts:
- NieRAutomata.exe
- data/movie
- data/movie_logo
- data/data000.cpk
- data/data009.cpk
- Now, head to where the Nier: Automata files are installed and overwrite them with the recently downloaded and copied files. Here’s the installation folder location if you don’t happen to know where the game’s installed: “/home/deck/.local/share/Steam/steamapps/common/NieRAutomata/“.
- Once that’s done, open a browser on the Deck and head to this link. This will take you to the NexusMods page of Automata-LodMod. There will be two files inside it – LodMod.ini and xinput1_4.dll. After it’s downloaded, make sure to rename xinput1_4.dll to xinput1_3.dll and overwrite the LodMod.ini file with this one.
- In another tab on your browser, copy-paste this link. It will take you to the FAR or Fix (Nier) Automata Resolution GitHub page. Get the FAR v.0.7.0.14 version. Install it, and then head to this link, download the folder, and put the files in the Nier: Automata folder next to dinput8.dll.
- Now search for Protontricks in the Discover Store and install it on your Deck. Also, download Visual C++ 2015–2019 Redistributables. Make sure to get both the 32-bit and 64-bit versions. After the download is complete, right-click on each exe, select run with Protontricks launcher, then select Nier: Automata from the list and run the installer.
- After the redistributables are installed, run Protontricks. Next, select NieR: Automata from the list. In the next window, you will notice the What do you want to do? title with a lot of options under it. Click on Select the default wineprefix. For the next window, ignore all options except for Run wineconfig. Select it and click OK. Now, select NieRAutomata.exe. Switch to the Libraries tab and add dinput8 as a new override. Make sure under Existing Overrides it reads as dinput8 (native, builtin). Now just click on Apply and OK. You can close Protontricks after that.
- Now, switch back to Gaming Mode and launch the game. If it doesn’t launch, try different Proton versions.
Install mods
Navigate to your Nier: Automata folder and create a new folder. Name it FAR_Res. Do note that newer Special K/FAR versions will be called SK_Res instead of FAR_Res. As such, if you encounter any texture mod with the SK_RES folder, make sure to just move the subfolders into the FAR_Res folder. Other than that, you are now absolutely ready to install mods. Just make sure to check out The Definitive NieR Automata Experience (Mod list and Guide) in order to avoid any mod conflicts and such. Also, the following are some of the used and recommended mods from the original guide:
- Optimized Foliage
- Fast Load 2017
- Inventory Limit Increase to 999
- Re-Encoded Movies v 1.00
- HD Texture Pack (1080p)
- Androids Remastered
Some of these, like Optimized Foliage, Re-Encoded Movies, and Fast Load 2017, are quite important and useful as they will help you enjoy a smoother Nier: Automata experience on your Deck. You can also head over here and get the ReShade Install Script for installing and using ReShade.
Additionally, you can also map the keyboard shortcuts for ReShade or FAR to the back grip button. However, you don’t have to do that if you don’t want to. But we do suggest using the in-game settings. Just open in-game Settings, and set both Anti-Aliasing and Blur to Off. All other settings can just be set to High.
Well, that’s all there’s to this guide. While you are at it, you should also take a quick look here and check out how to install and set up CryoUtilies on your Deck. And for more such guides, keep following DigiStatement. Also read: Nier Automata Crashing on Steam Deck: How to fix it?


